
Holiday Charcuteries

Dress Up the Holidays with a Simple Charcuterie
It seems like it’s always a time for a celebration of some kind, right? Let’s say you’re going to a party and need to bring a side-dish. It seems like everyone is either bringing a salad, a bag of chips, or a dessert. What can YOU do that will knock the socks off of everyone? A CHARCUTERIE of course. Now you may browse through Pinterest and see all kinds of AMAZING charcuterie boards and it won’t take long to get OVERWHELMED. There’s so much prep work to do. It’s going to cost a fortune to get all of those supplies. I’m not creative enough to pull off a charcuterie board!
Well I’m here to tell you that it doesn’t have to be difficult to look and taste INCREDIBLE! Trust me, you CAN do it!
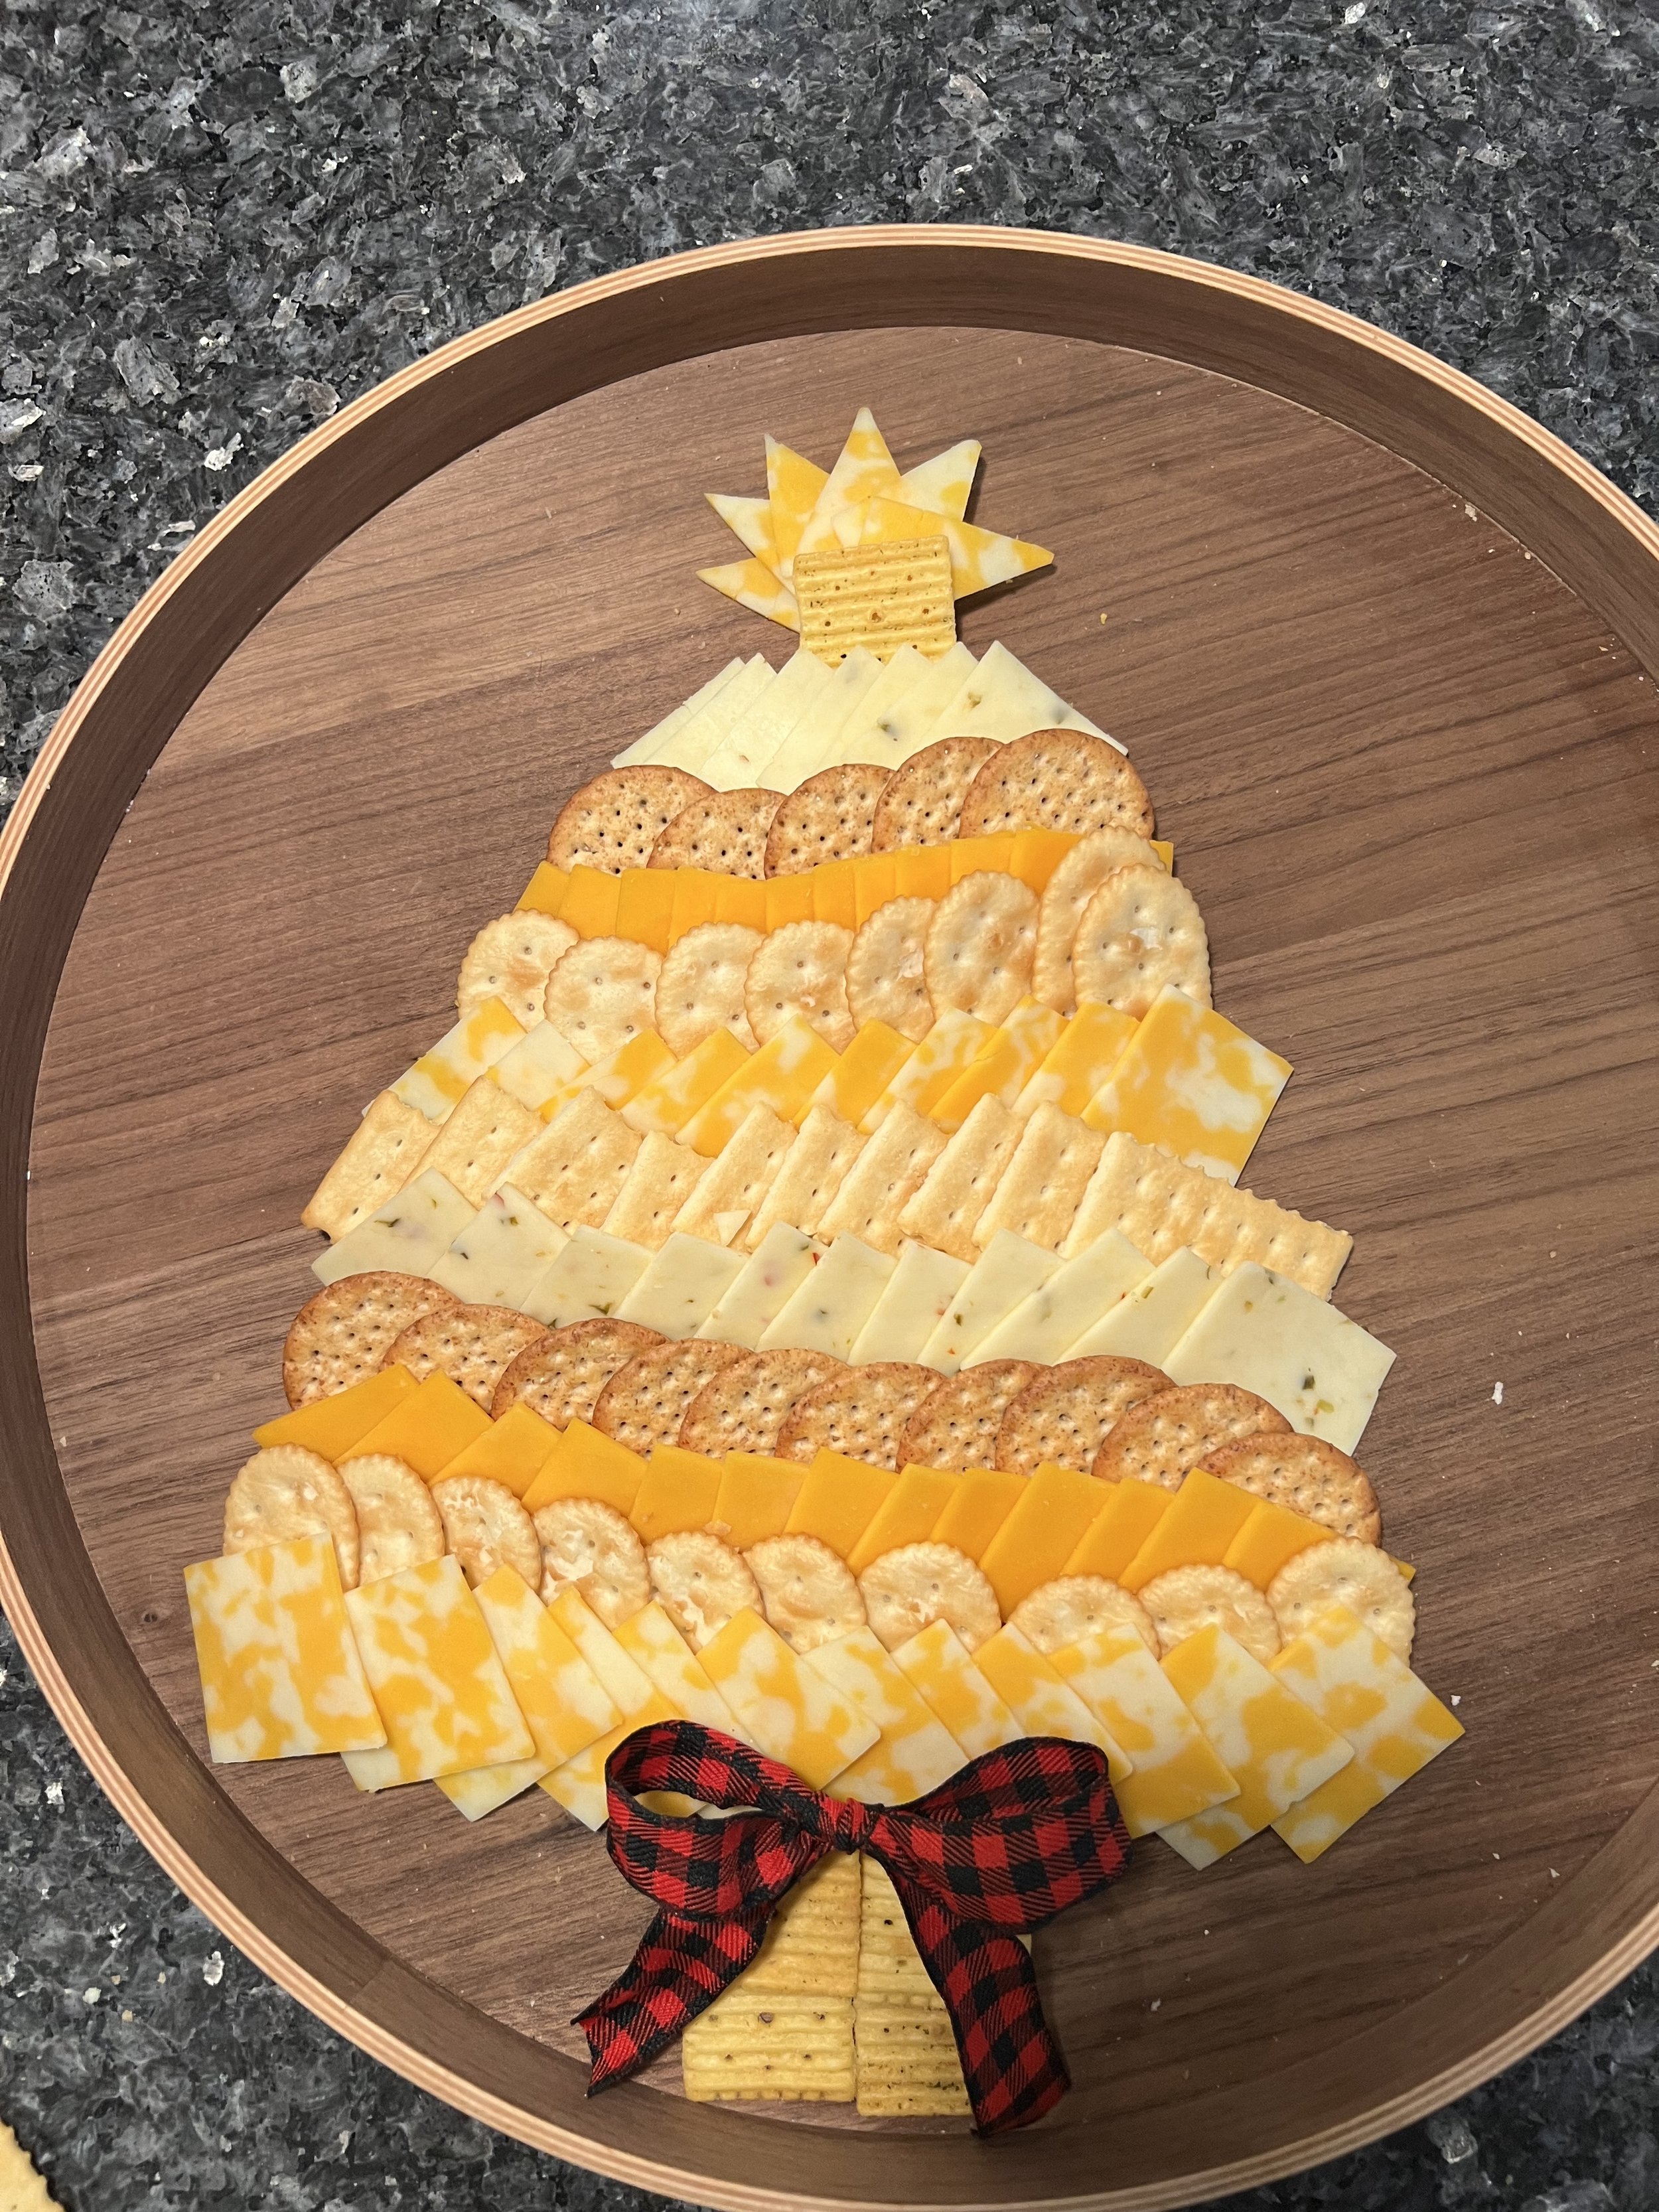
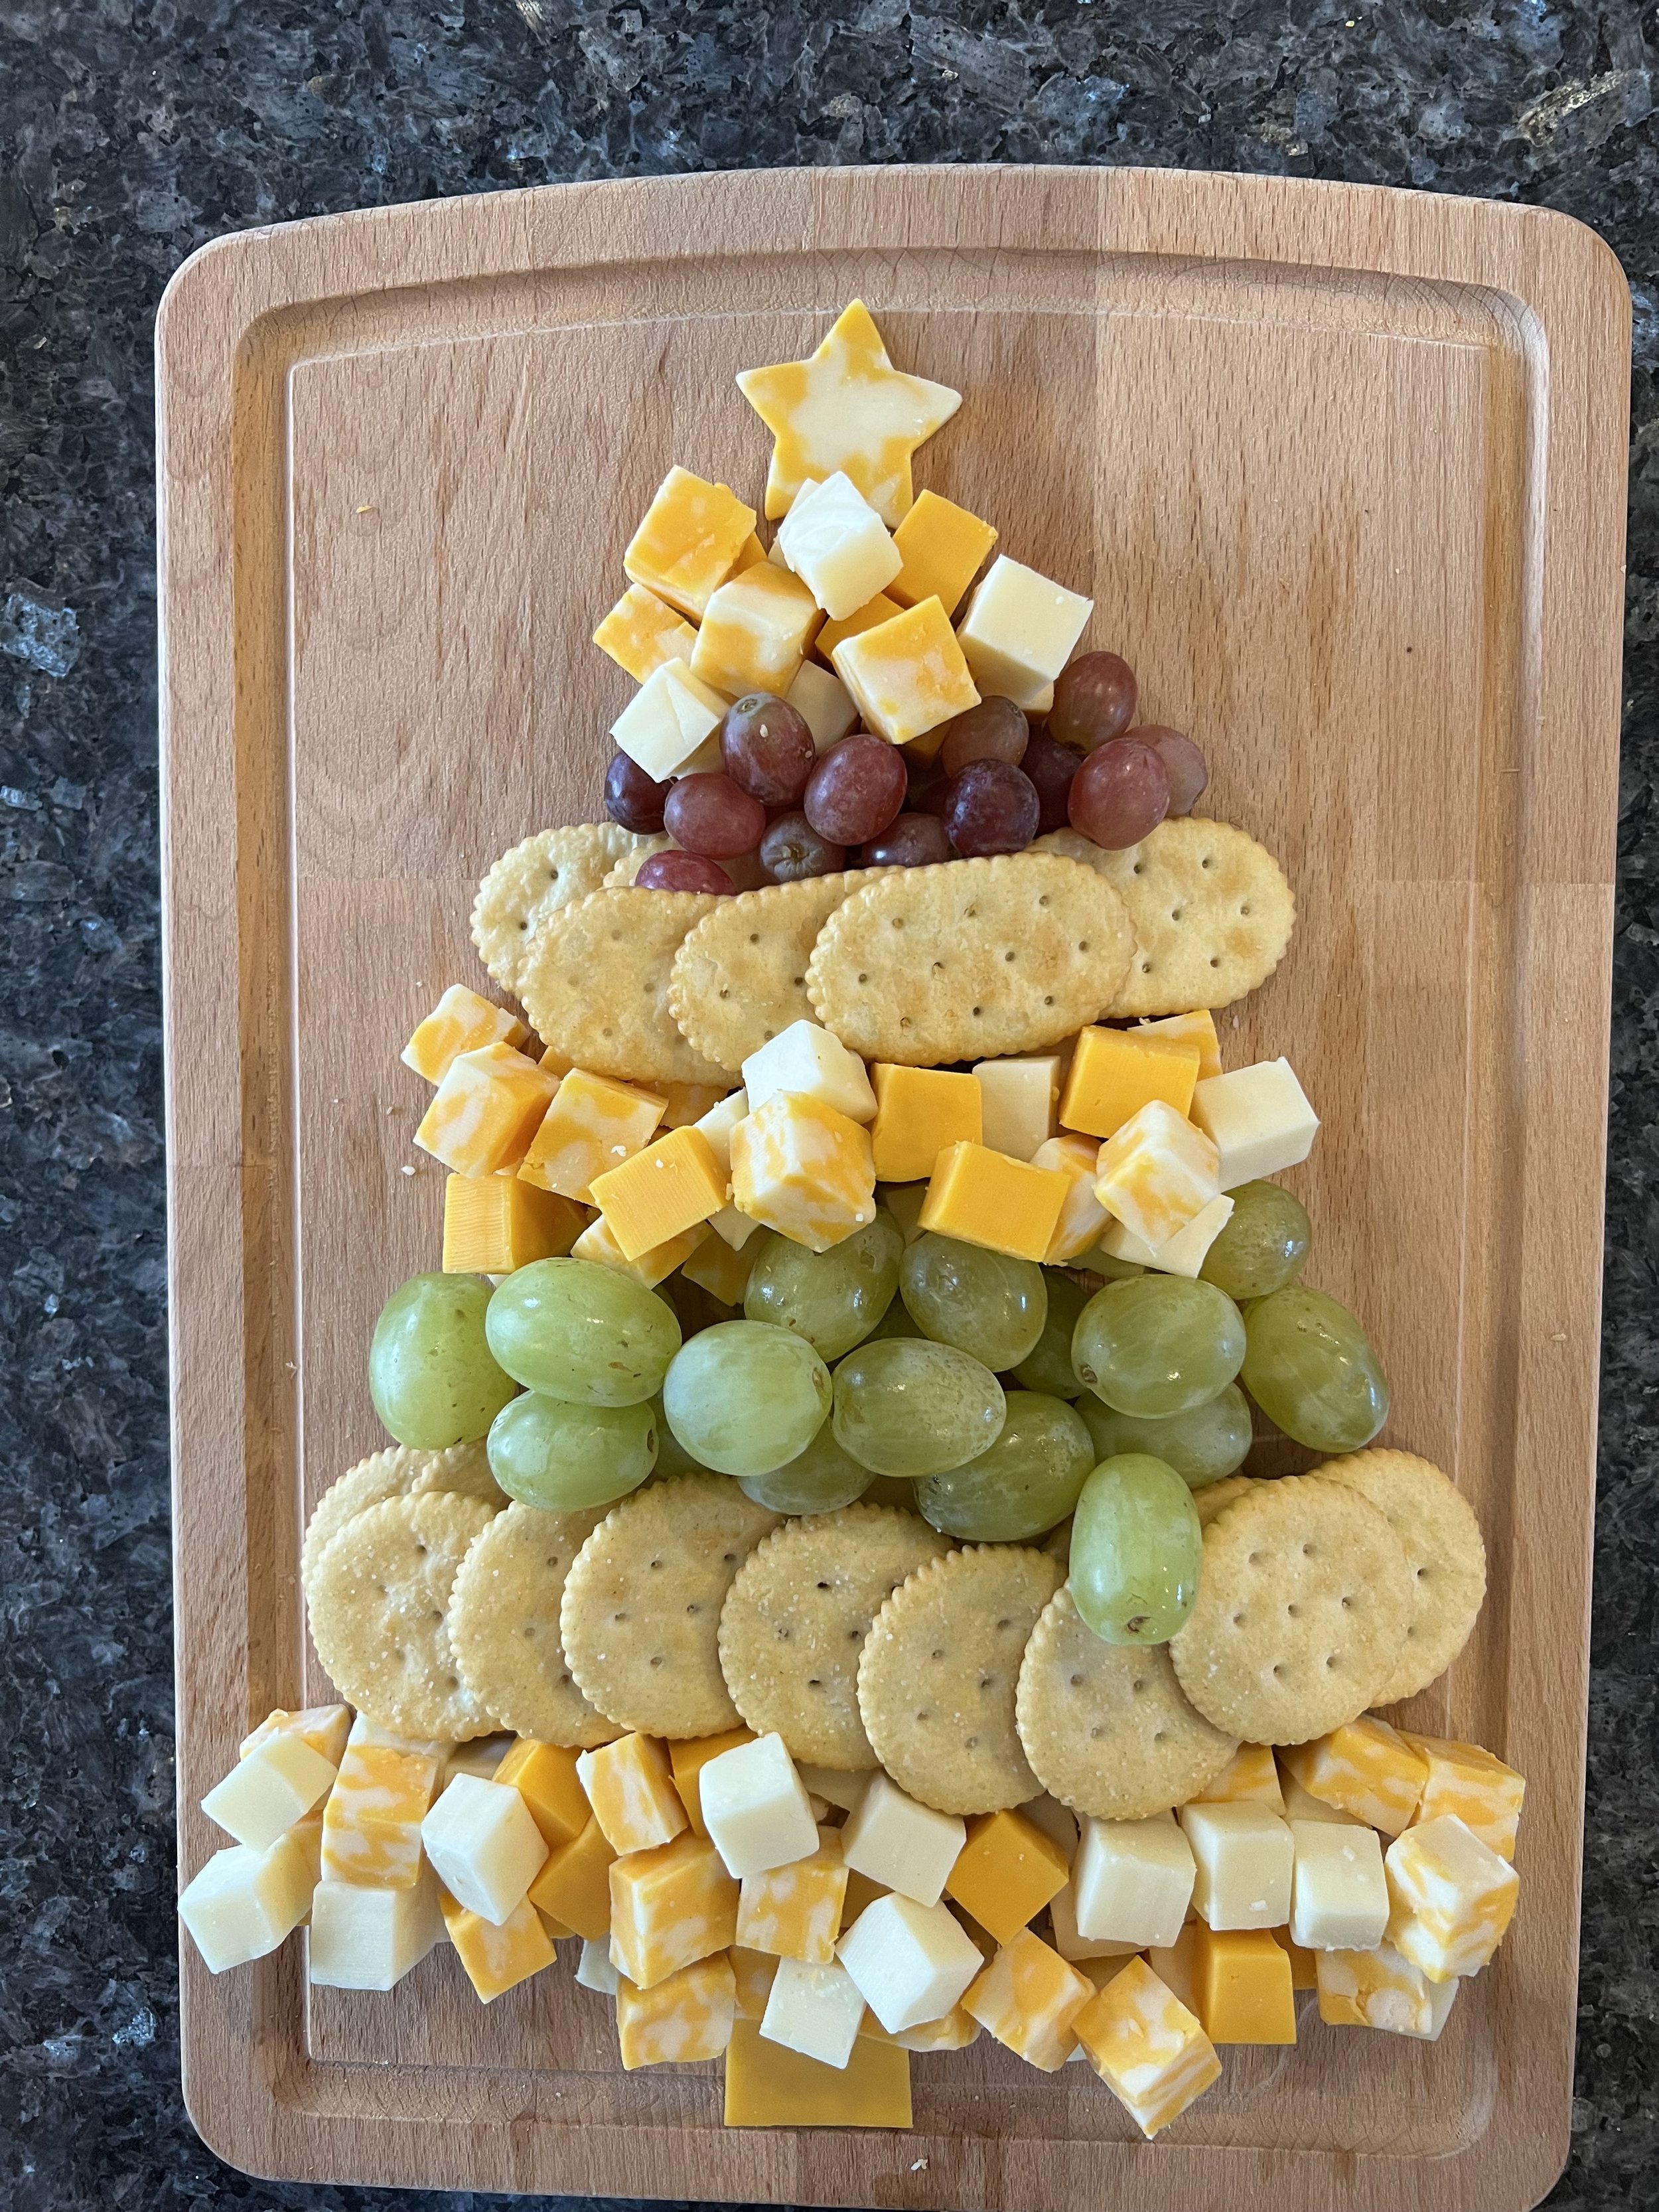
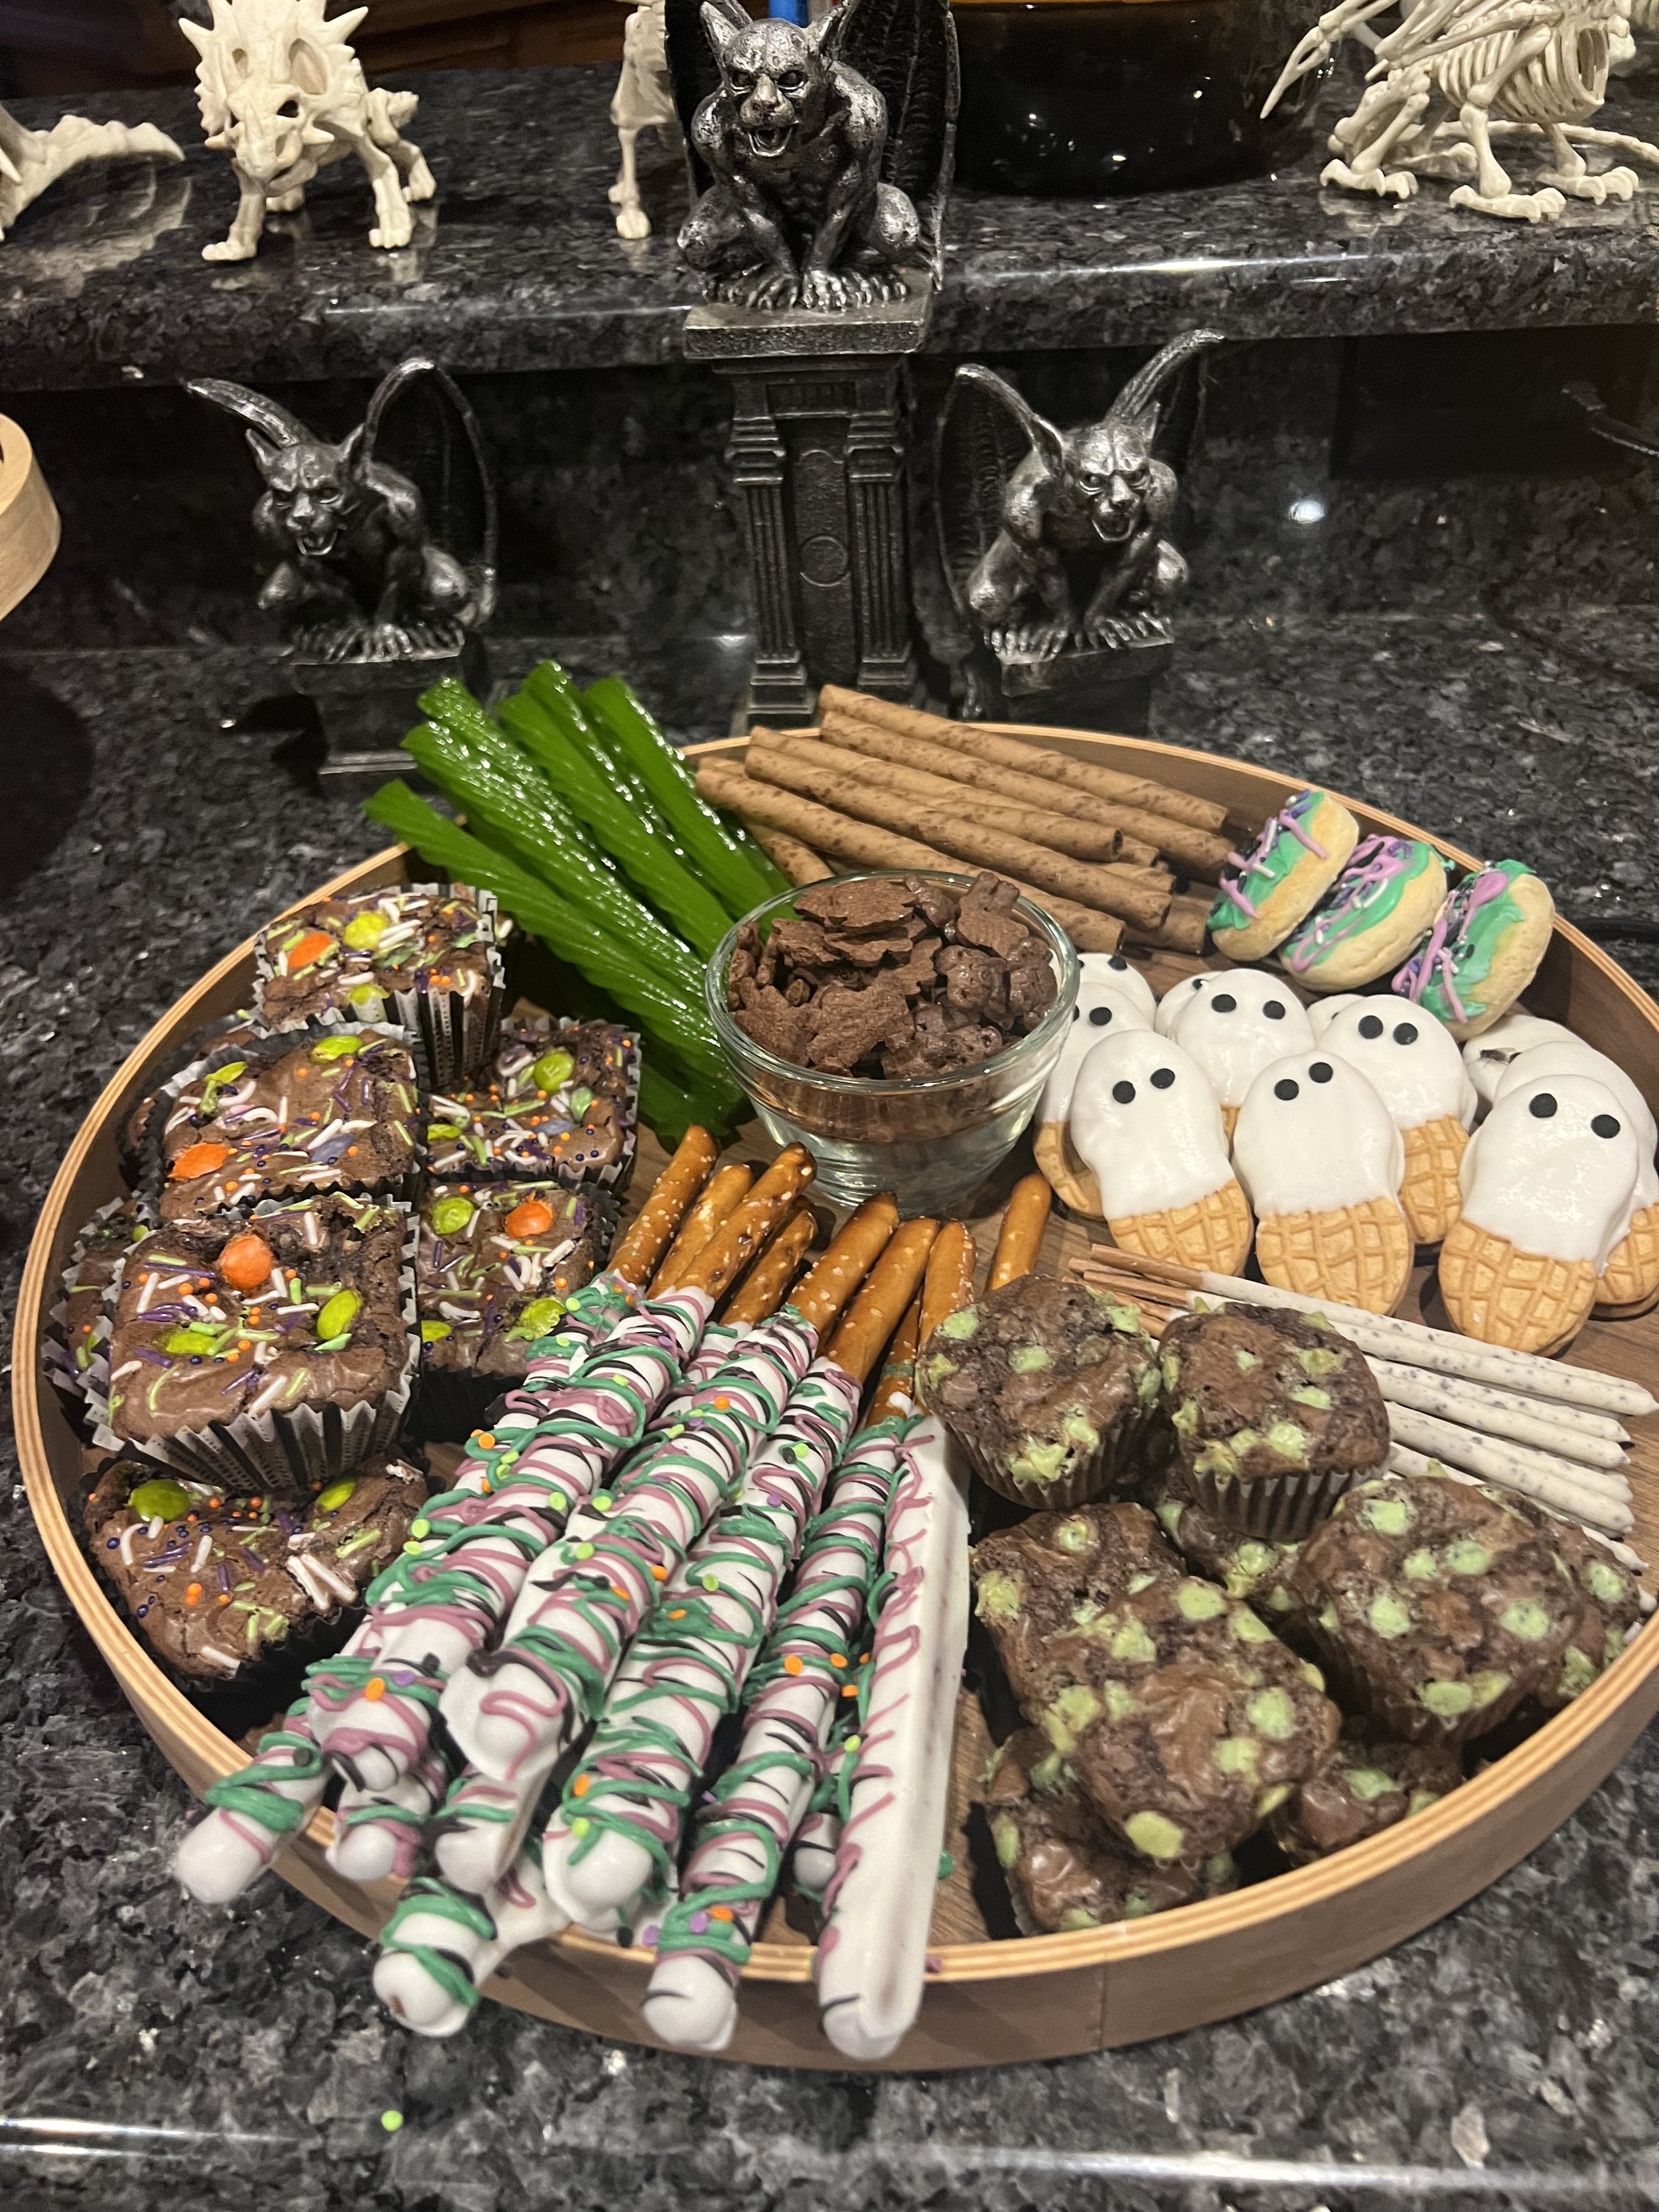
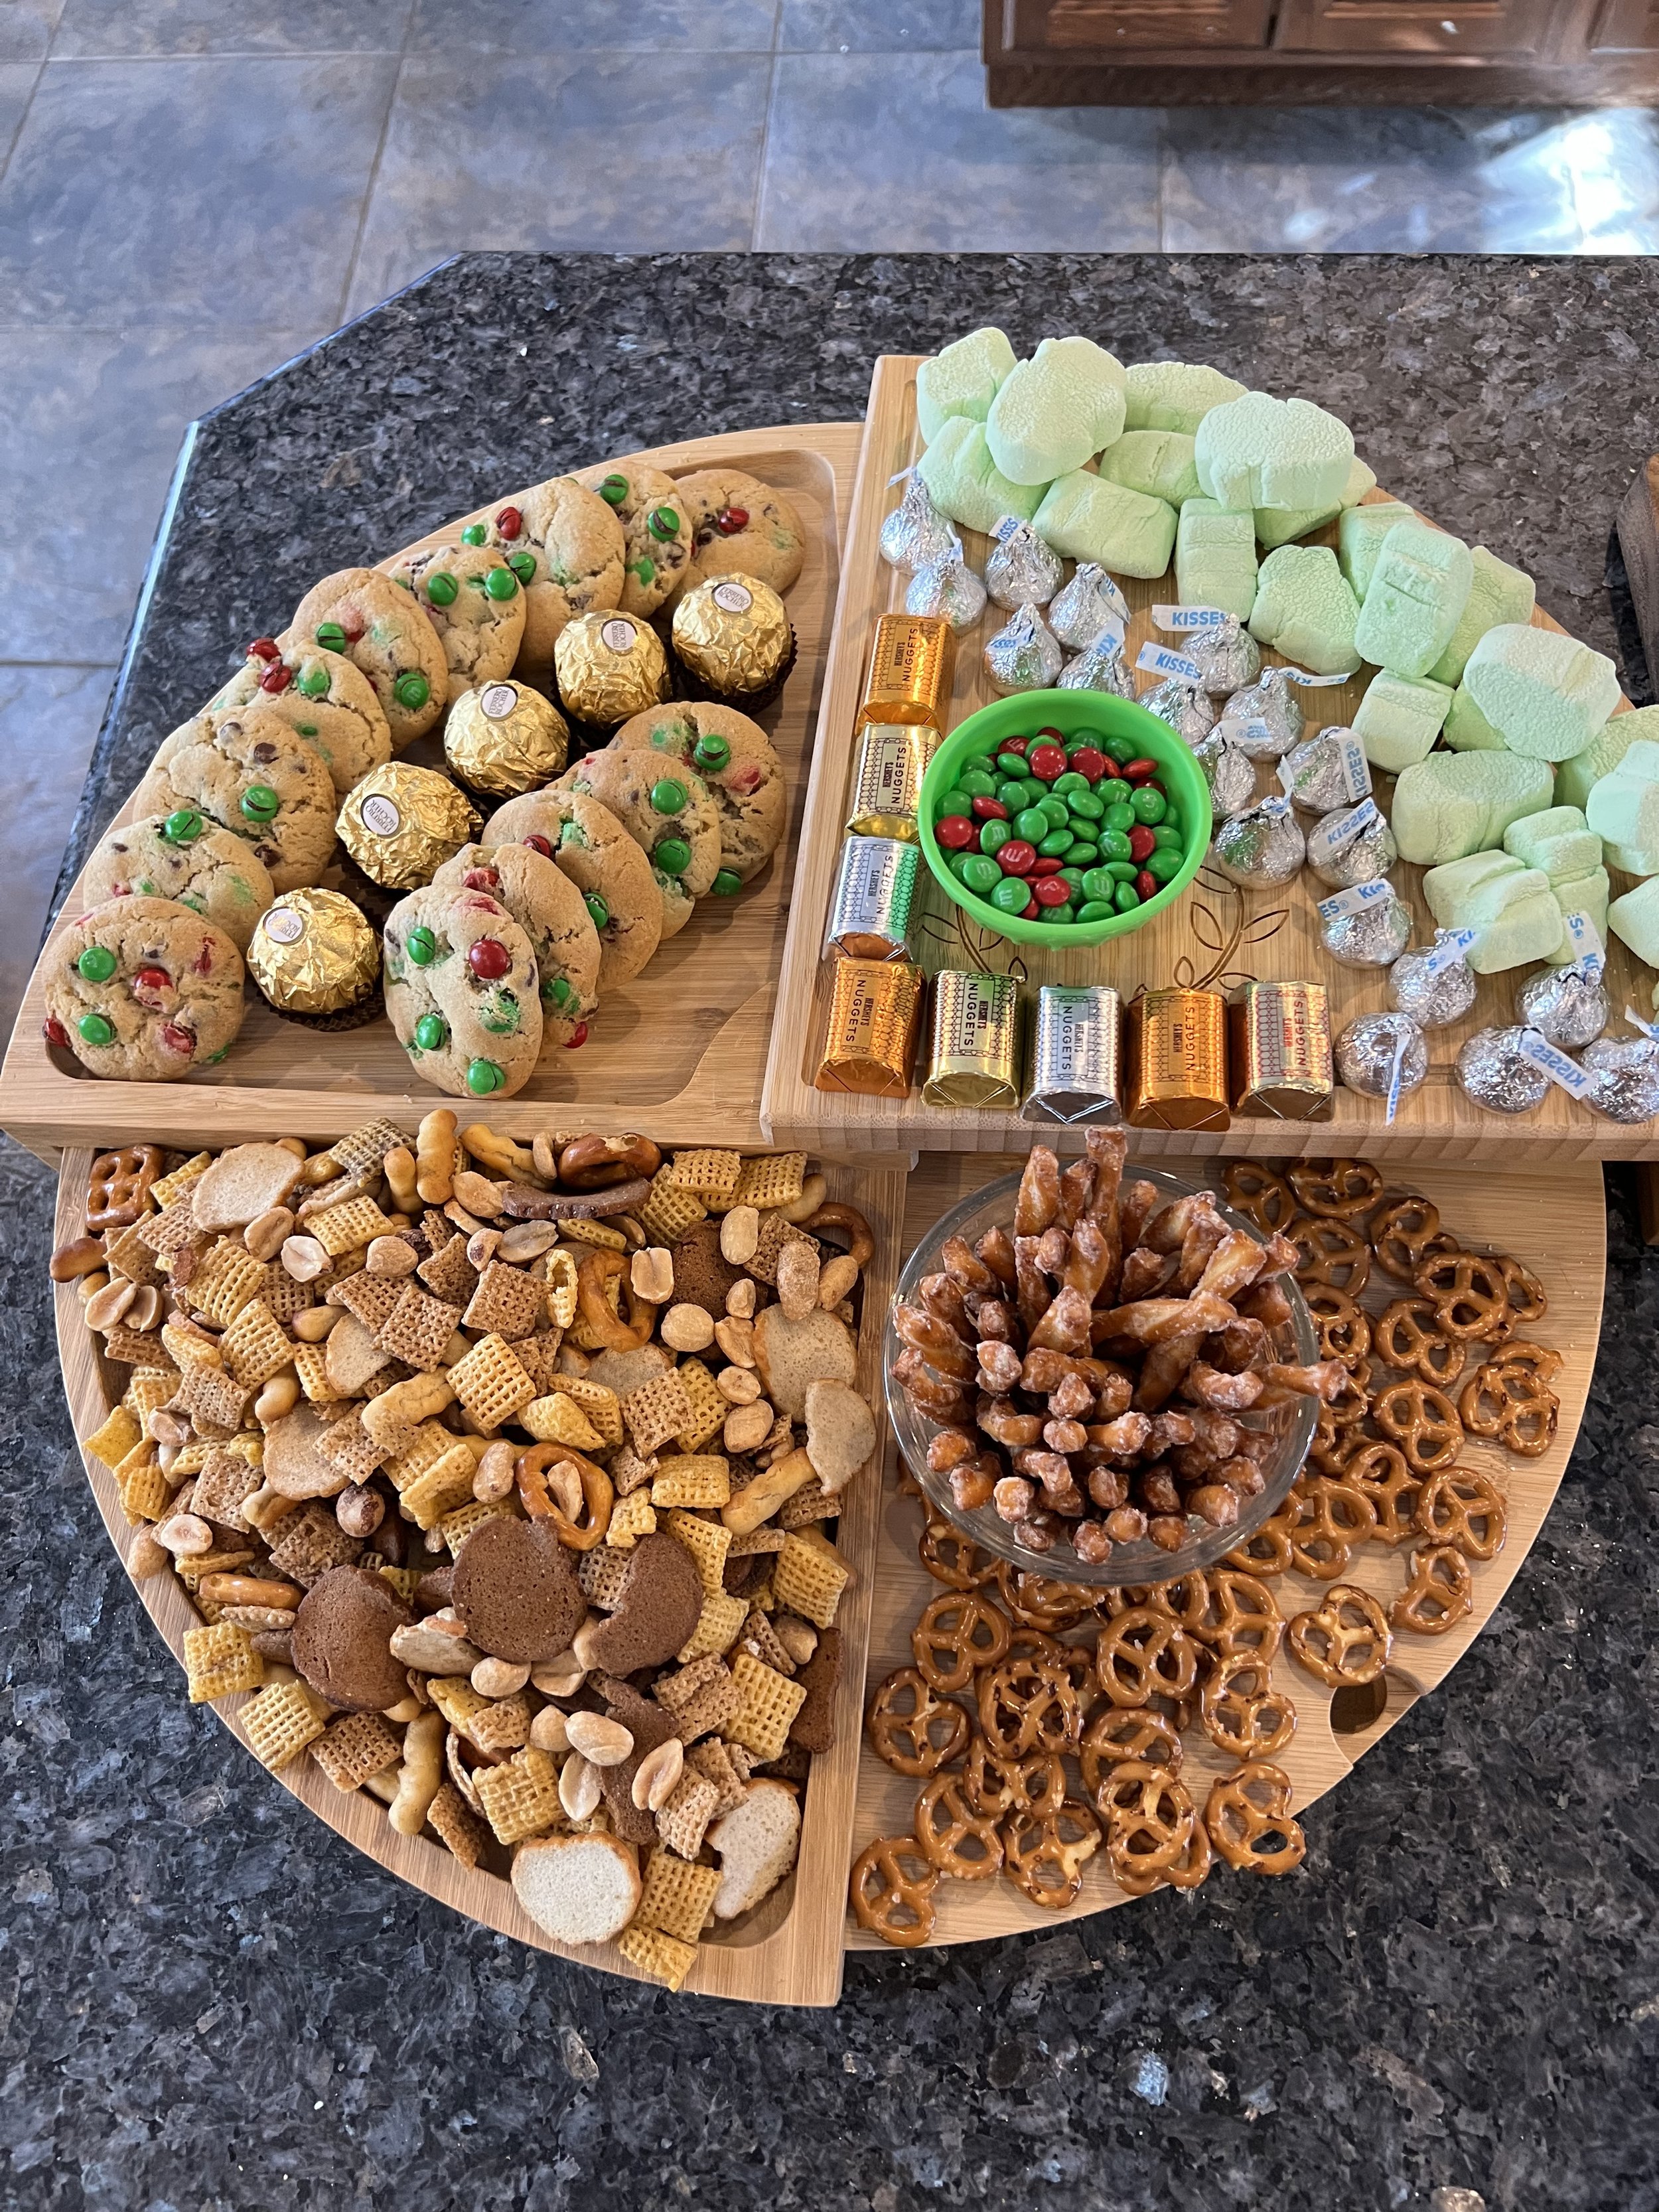
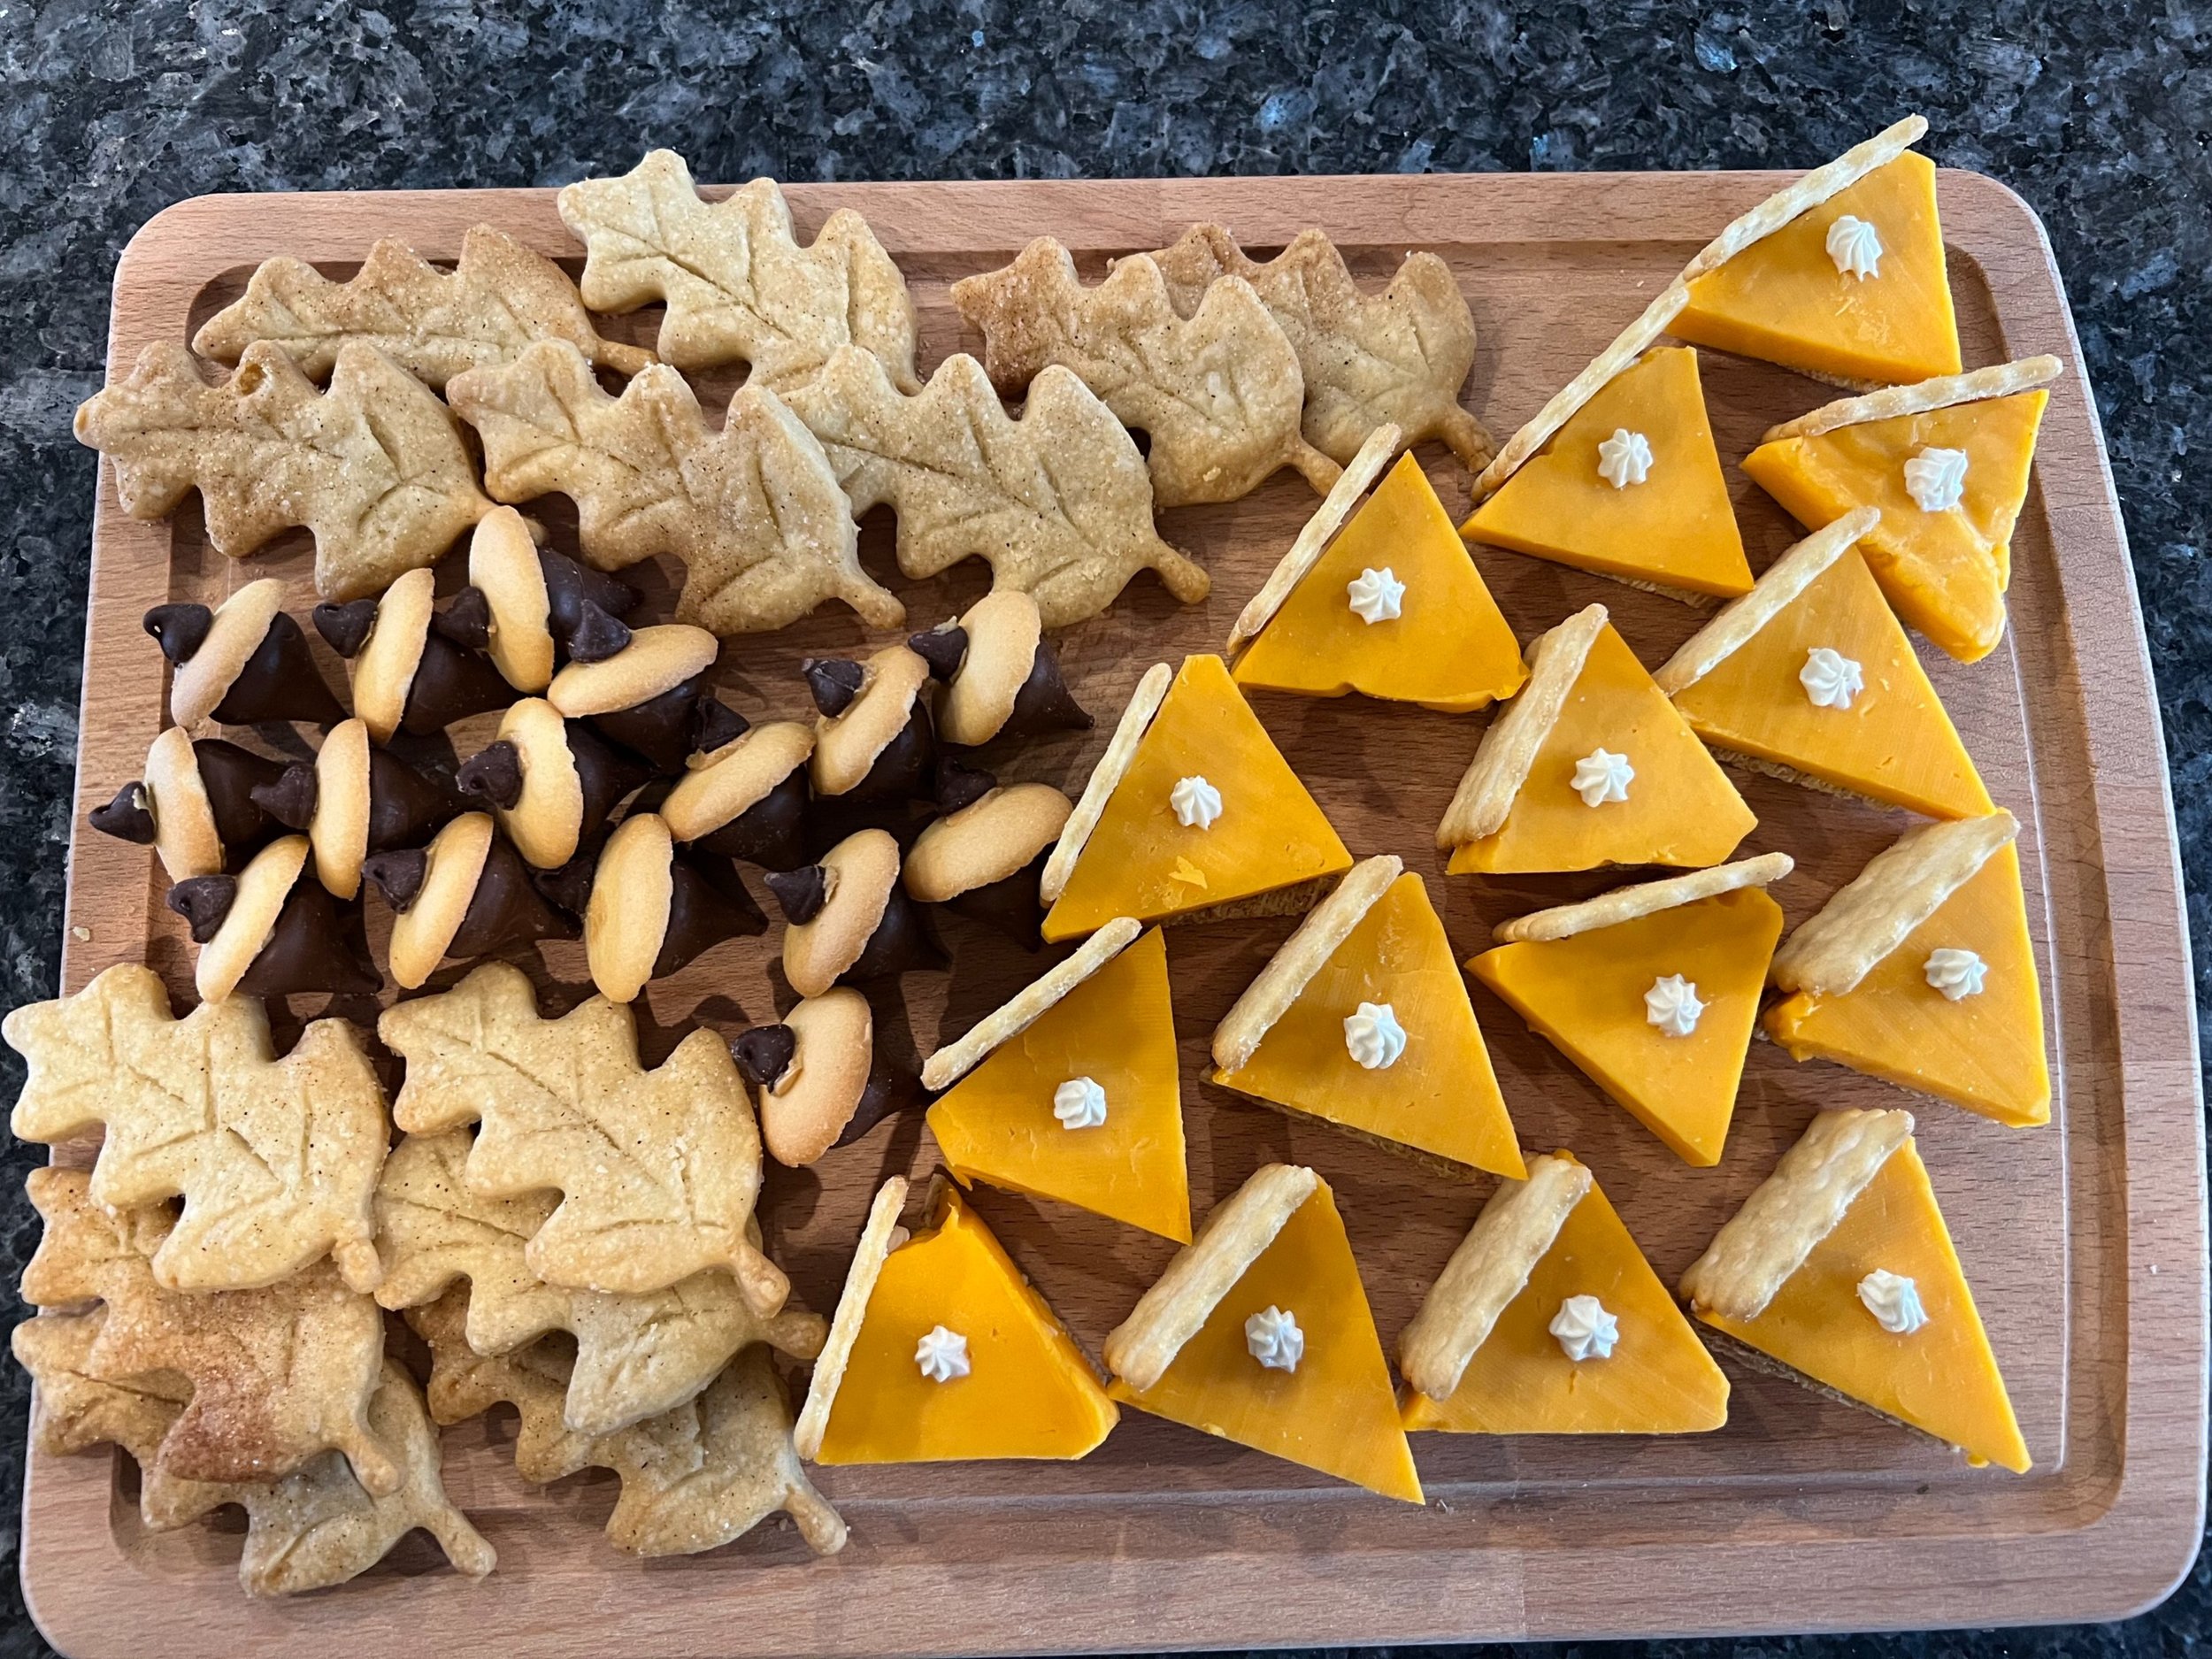
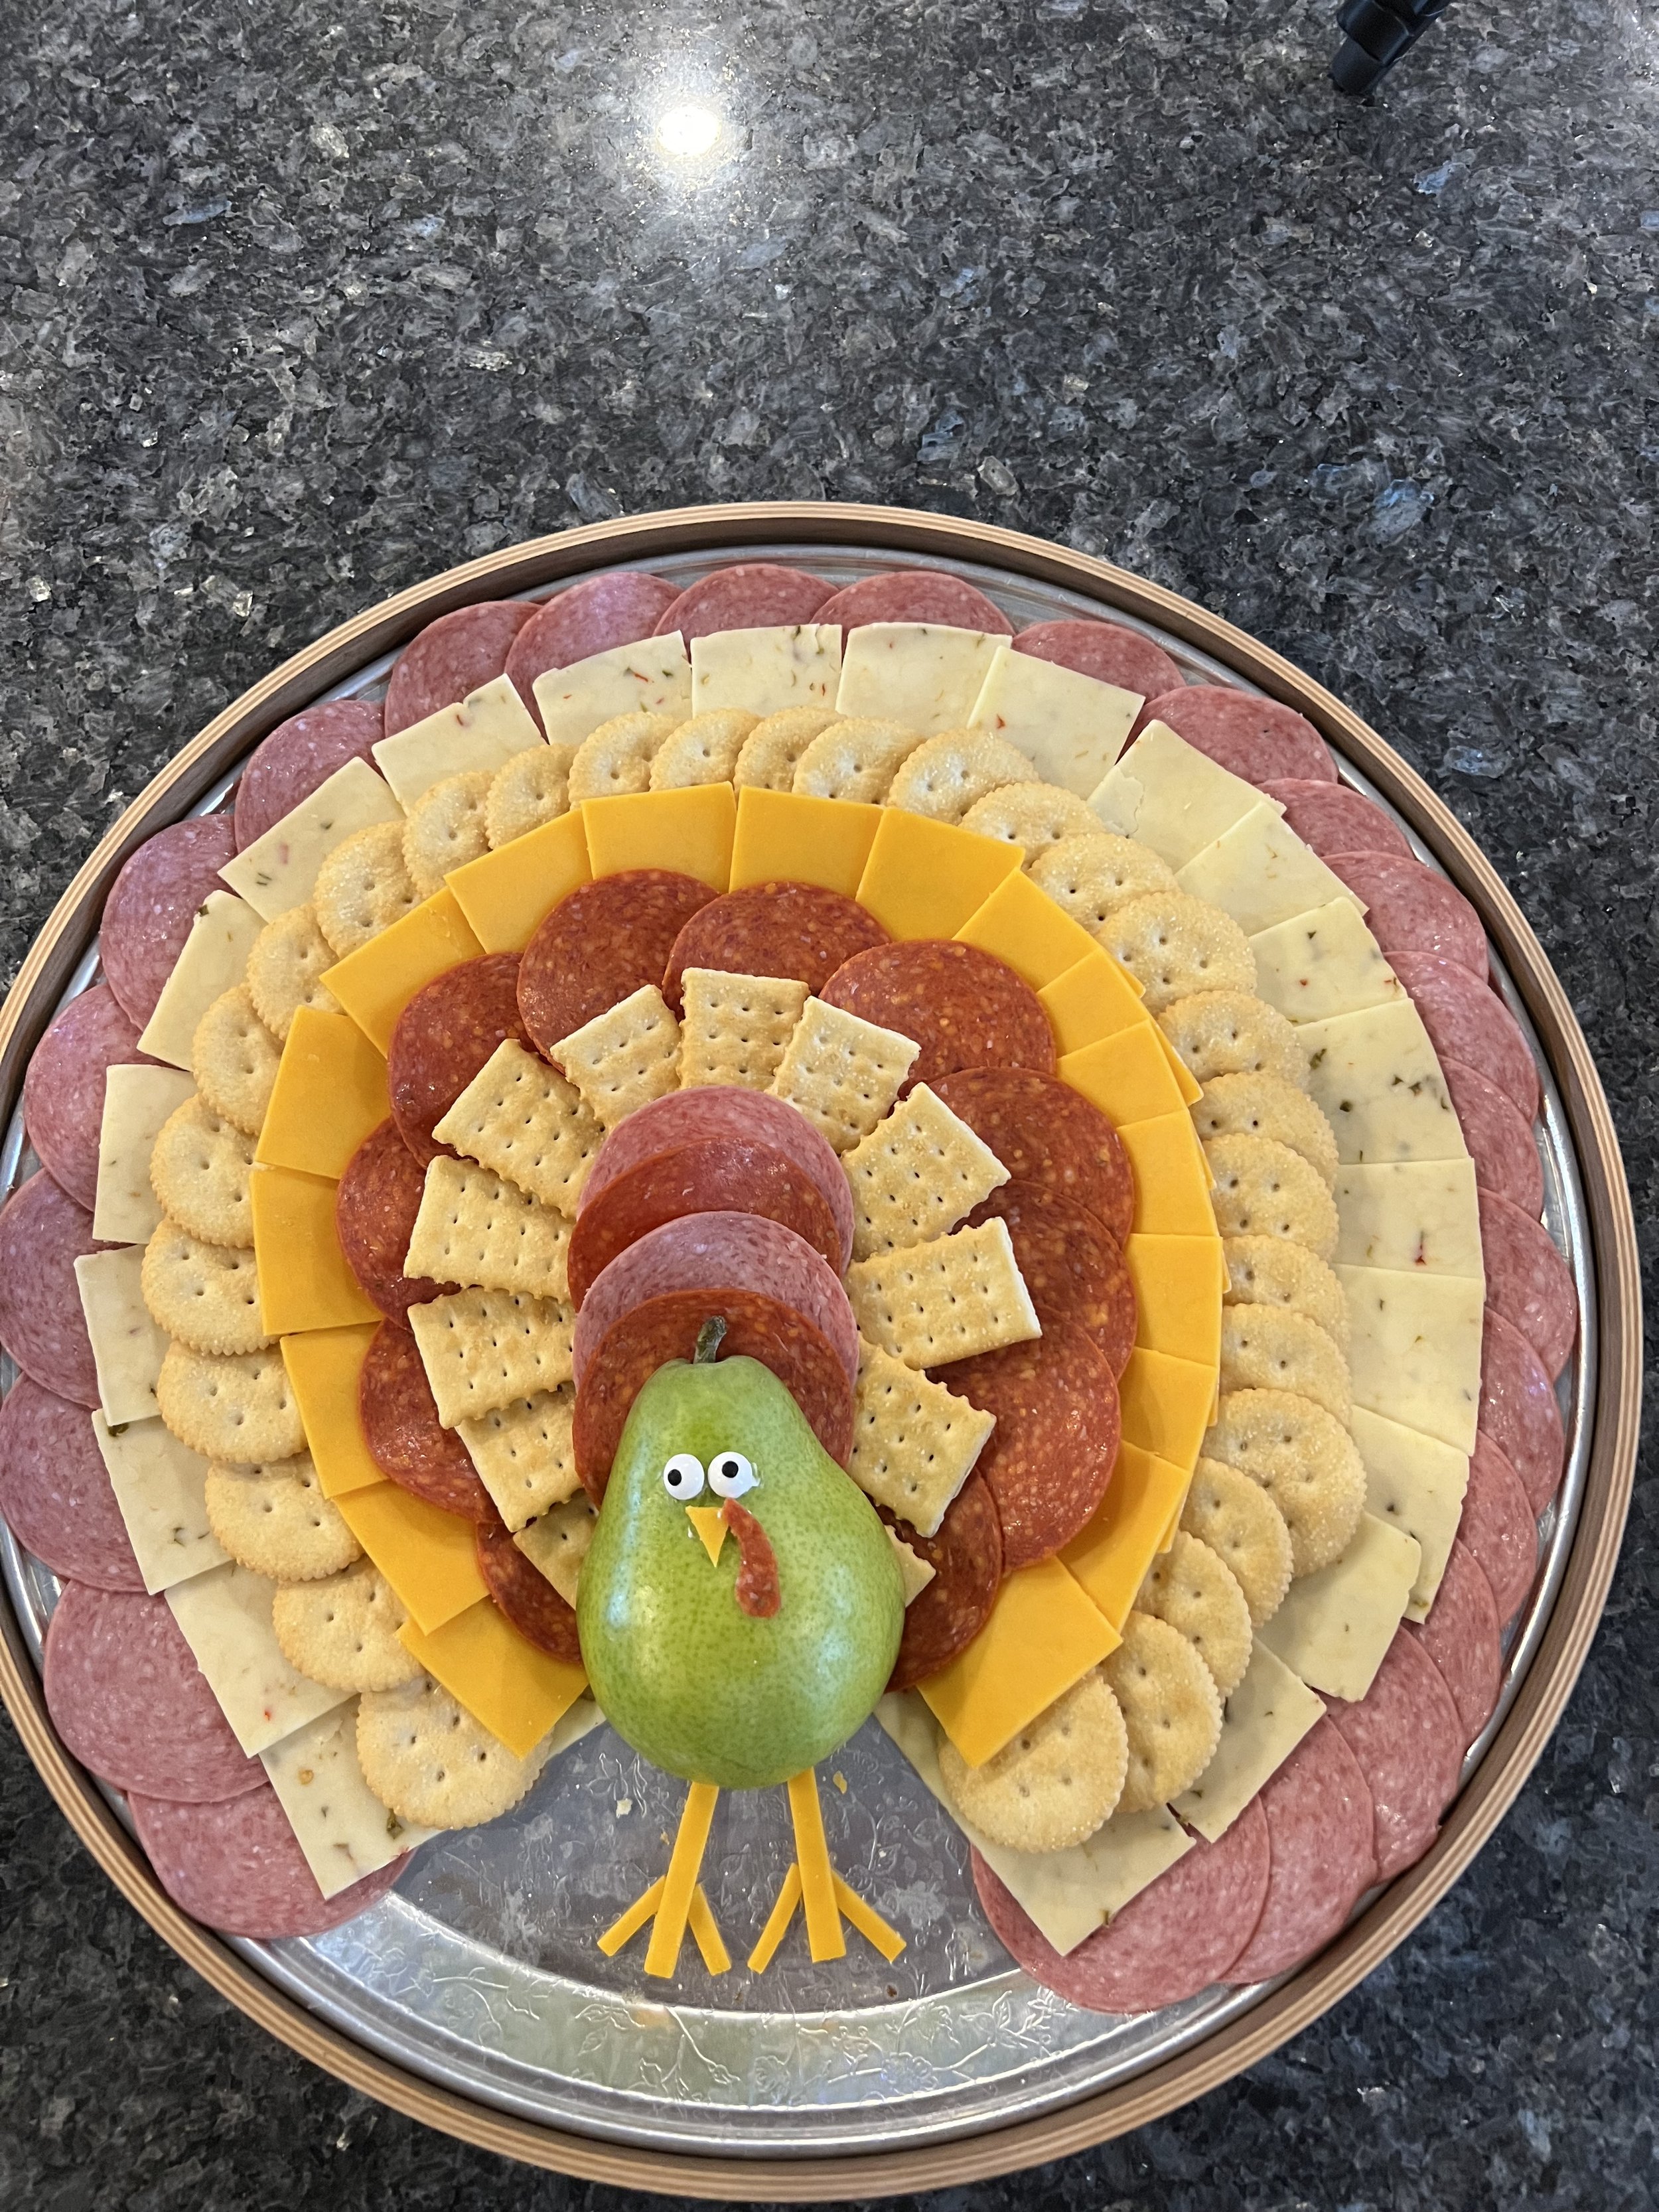
First, decide on a shape/theme for your board. Do you want to make it into a particular shape like I have with the Christmas trees and turkey? You can always do a wreath if you have a circular board to serve it on.
Do you want to make it sweet or savory, or a combination of both. For a sweet board, it can be fruit or candy. Candy boards are good because they can be made ahead of time whereas a board with fruit is going to have to stay refrigerated if made ahead and that means you also have to think about whether or not you have room in your refrigerator for the serving board you will be using. If you are going to assemble a savory board, again think about what you want on the board and whether or not it will need refrigeration. With the cheese and crackers or cheese, meat, and crackers combinations, you don’t want to refrigerate the crackers, so those will need to be prepared ahead of time (cubing or slicing the cheeses) and then assemble when ready to serve.
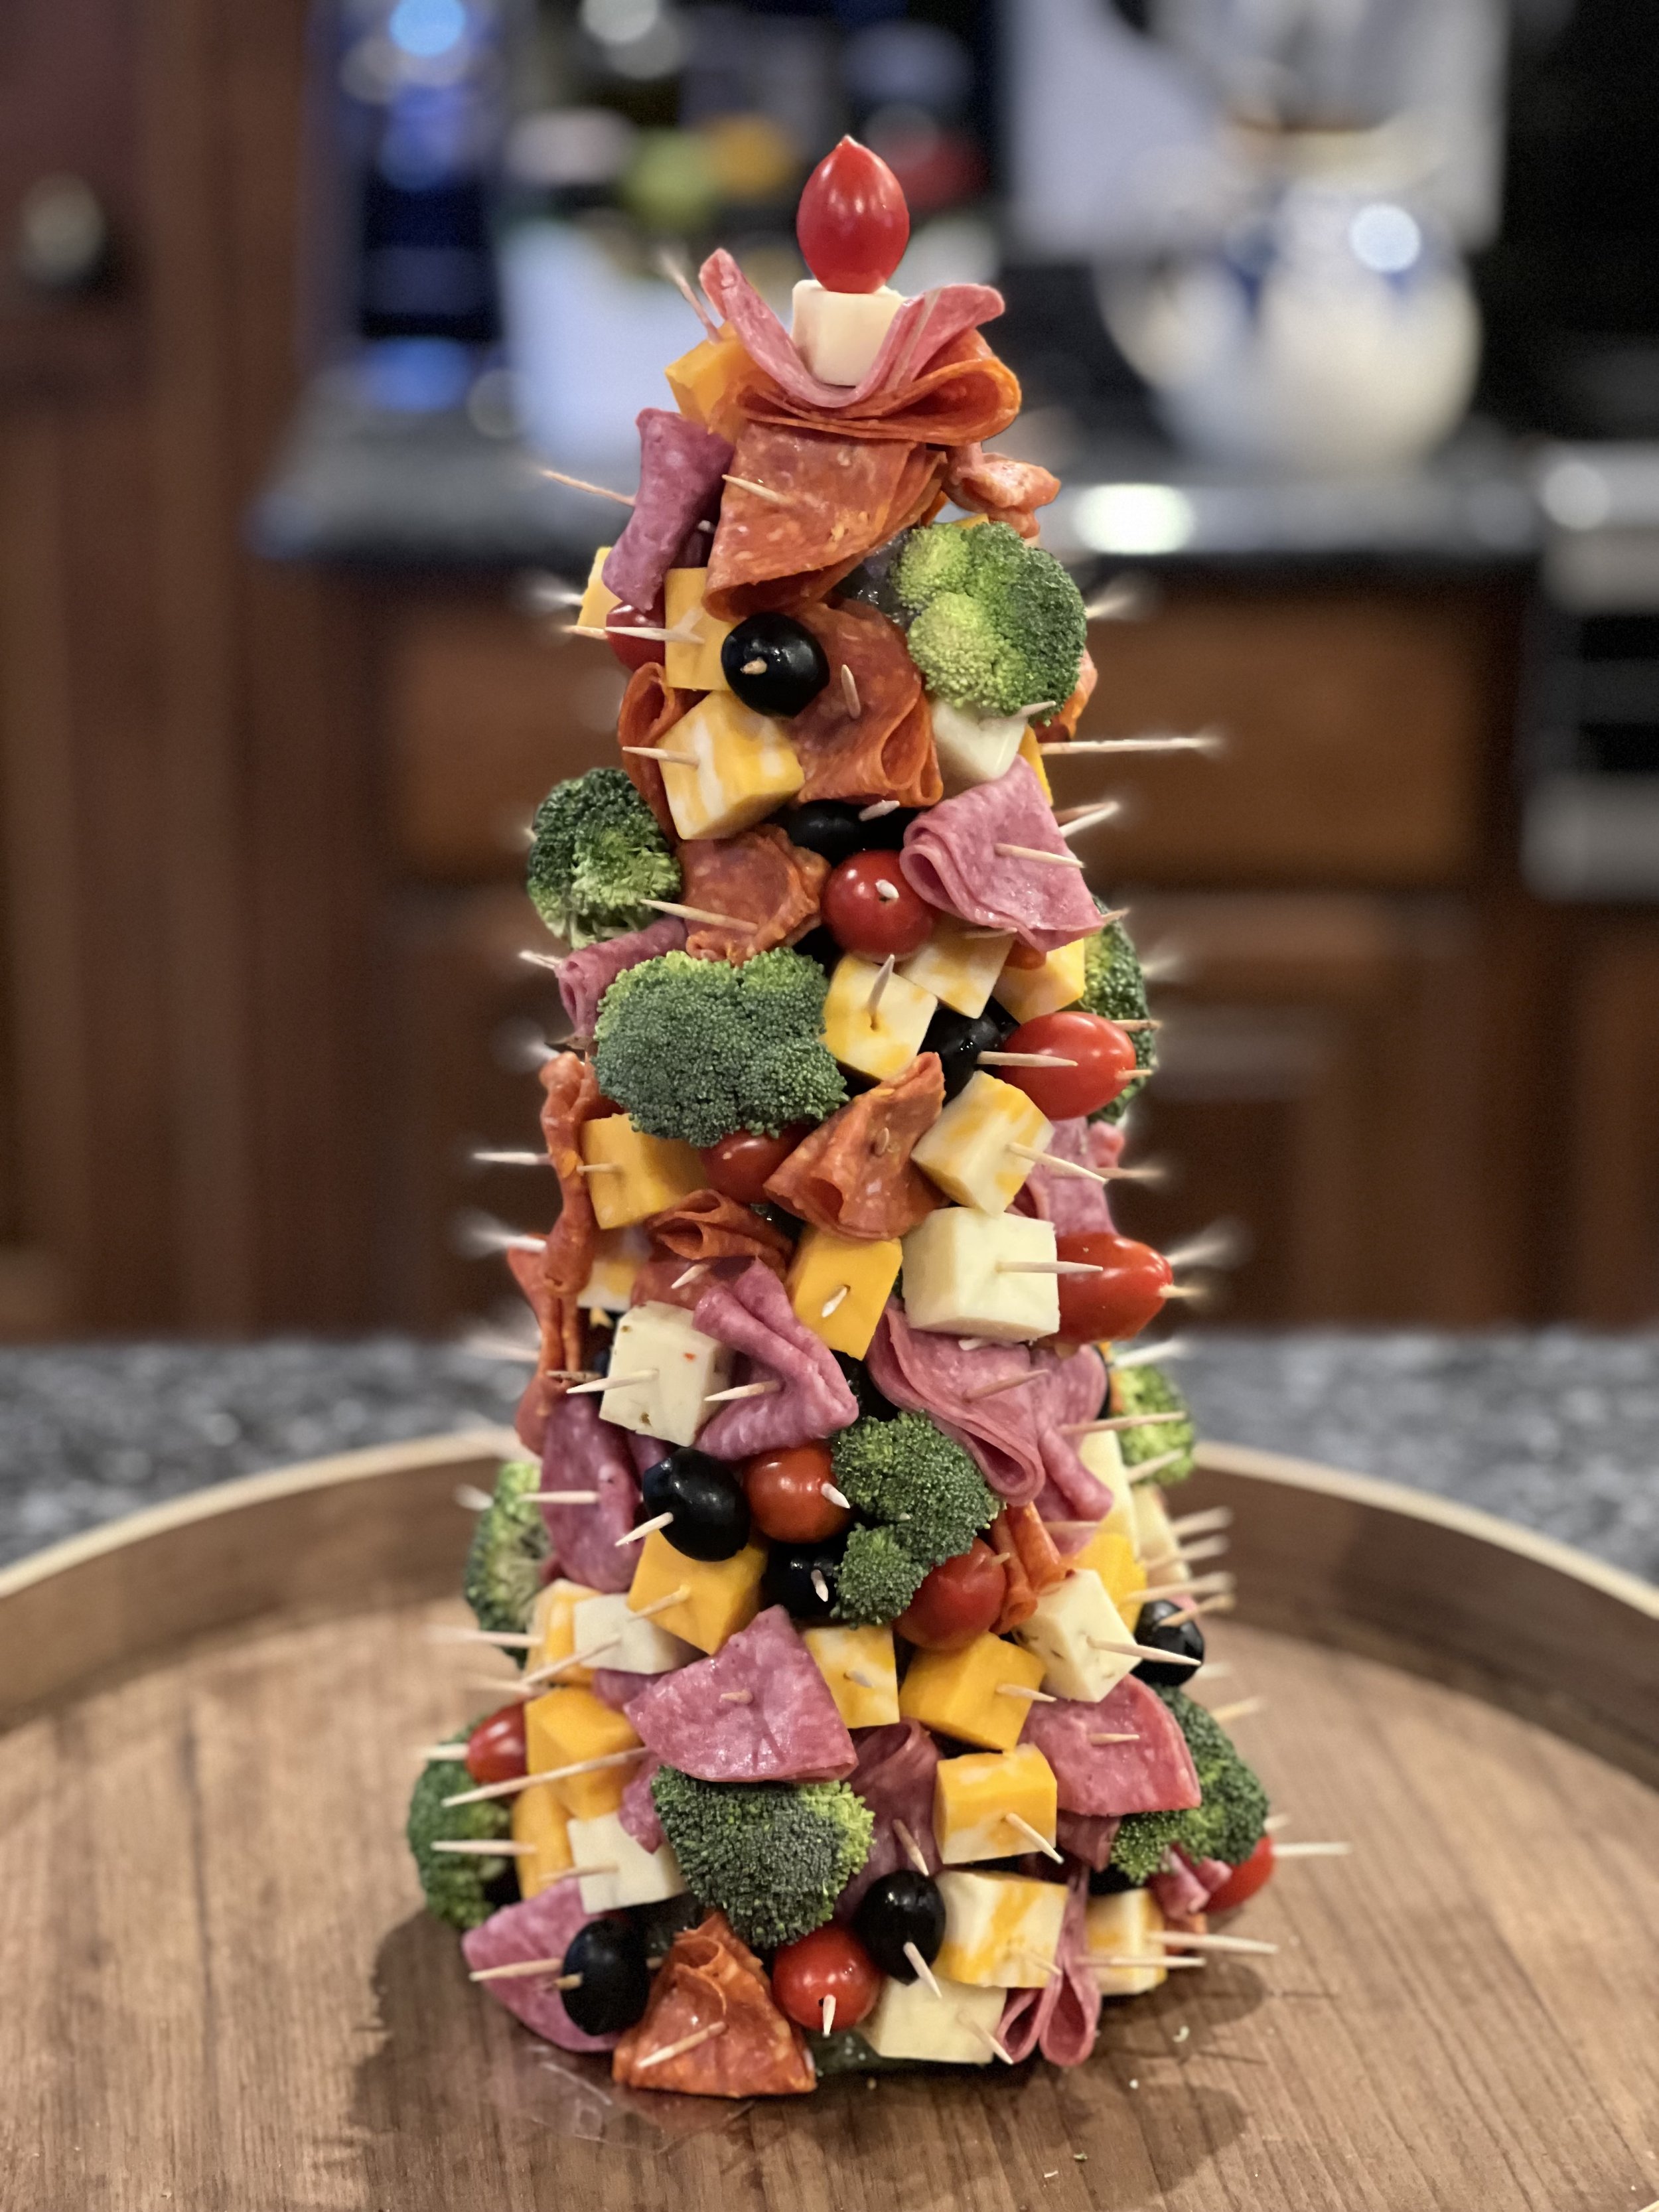
With the upright tree, all of the items can be prepared ahead of time and assembled on site, or if you have room in your refrigerator, go ahead and assemble it and refrigerate it, then when you are ready to serve, just place it on a board and put crackers around it.
CHEESE: buy cheese that is already in cubes or in slices. For the slices I have, I used cheese that was already sliced and then I just sliced them in half.
CRACKERS: Use a variety of shapes and flavors to add intersest to your display.
MEAT: sliced pepperoni and salami make great choices for charcuterie boards because they are already in a nice snack size. You can also get sliced lunchmeat and make them into smaller pieces, or get pre-cubed ham if you want to use it with toothpicks.
VEGETABLES: There are many vegetables that work well on charcuterie boards, just think about the colors you want to bring out in your display as well as what ones are in season and will be easy to get.
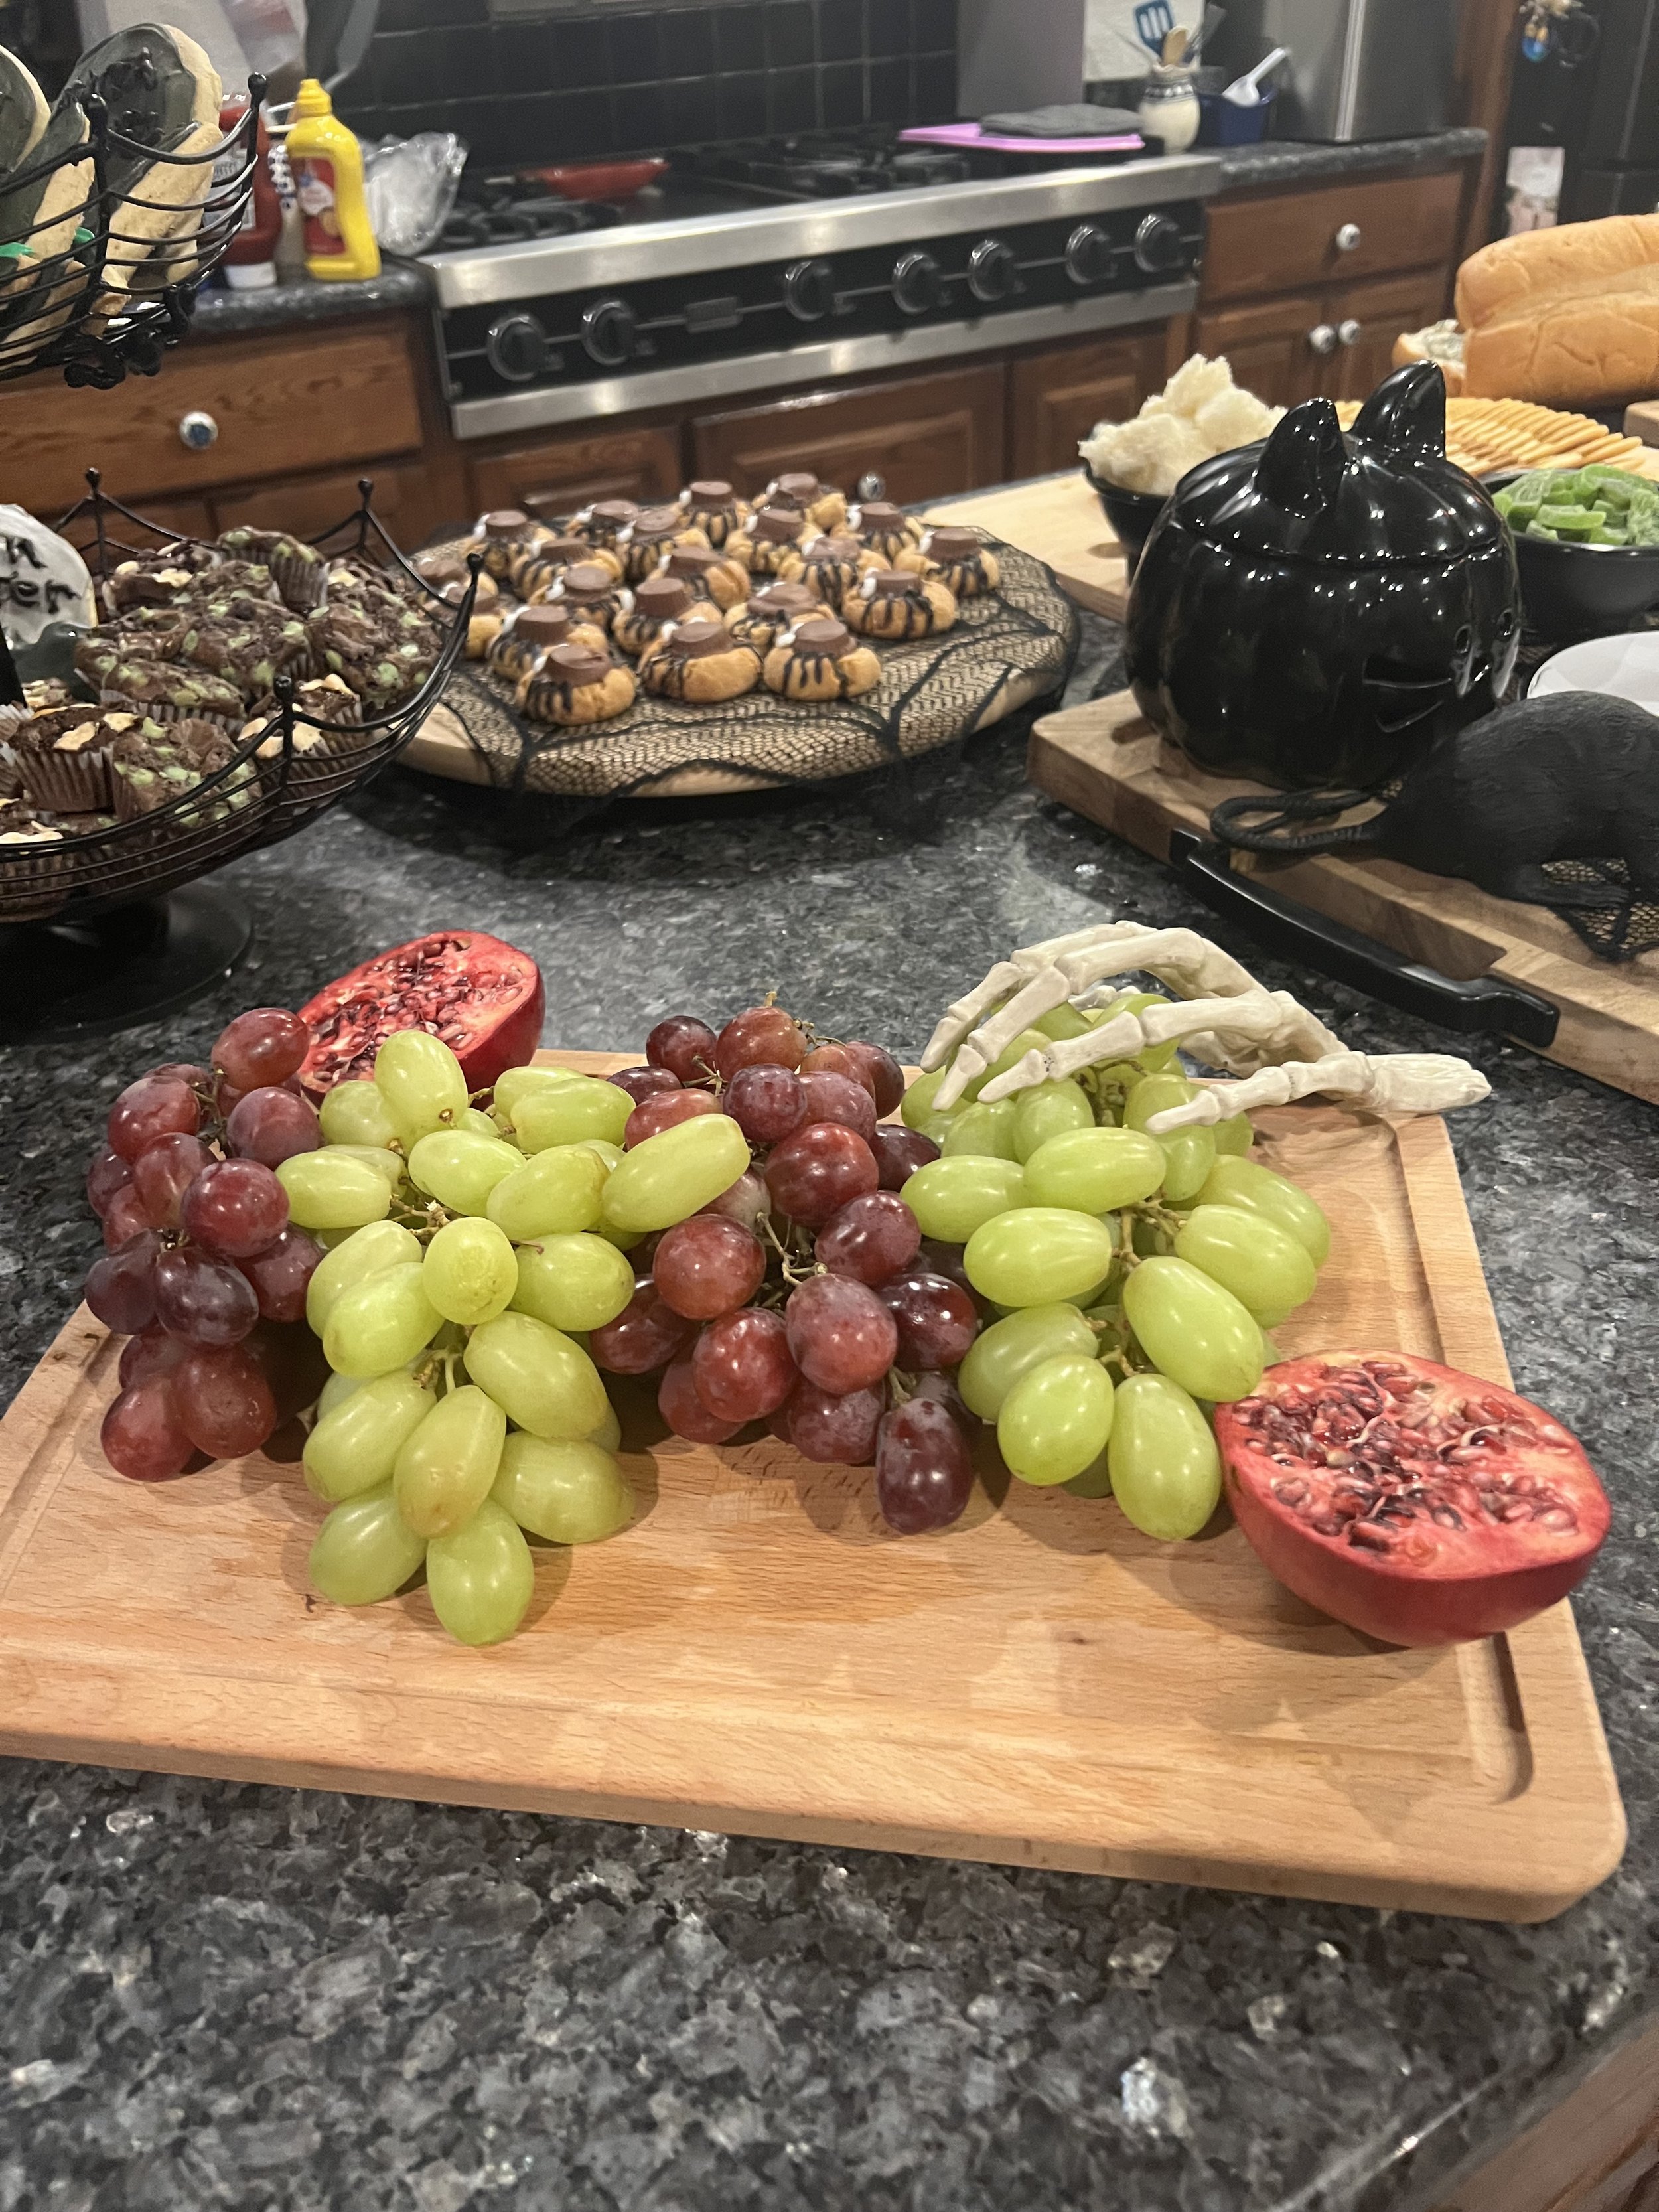
FRUIT: When choosing fruit for a charcuterie board again think about the colors you want to use as well as what is in season. Fruits will need a little prep work, peeling, stemming strawberries and grapes, cubing larger fruits like melons, dipping banana slices in lemon so they don’t turn brown, etc. You can also leave the grapes in clusters like I have on one of my boards above.
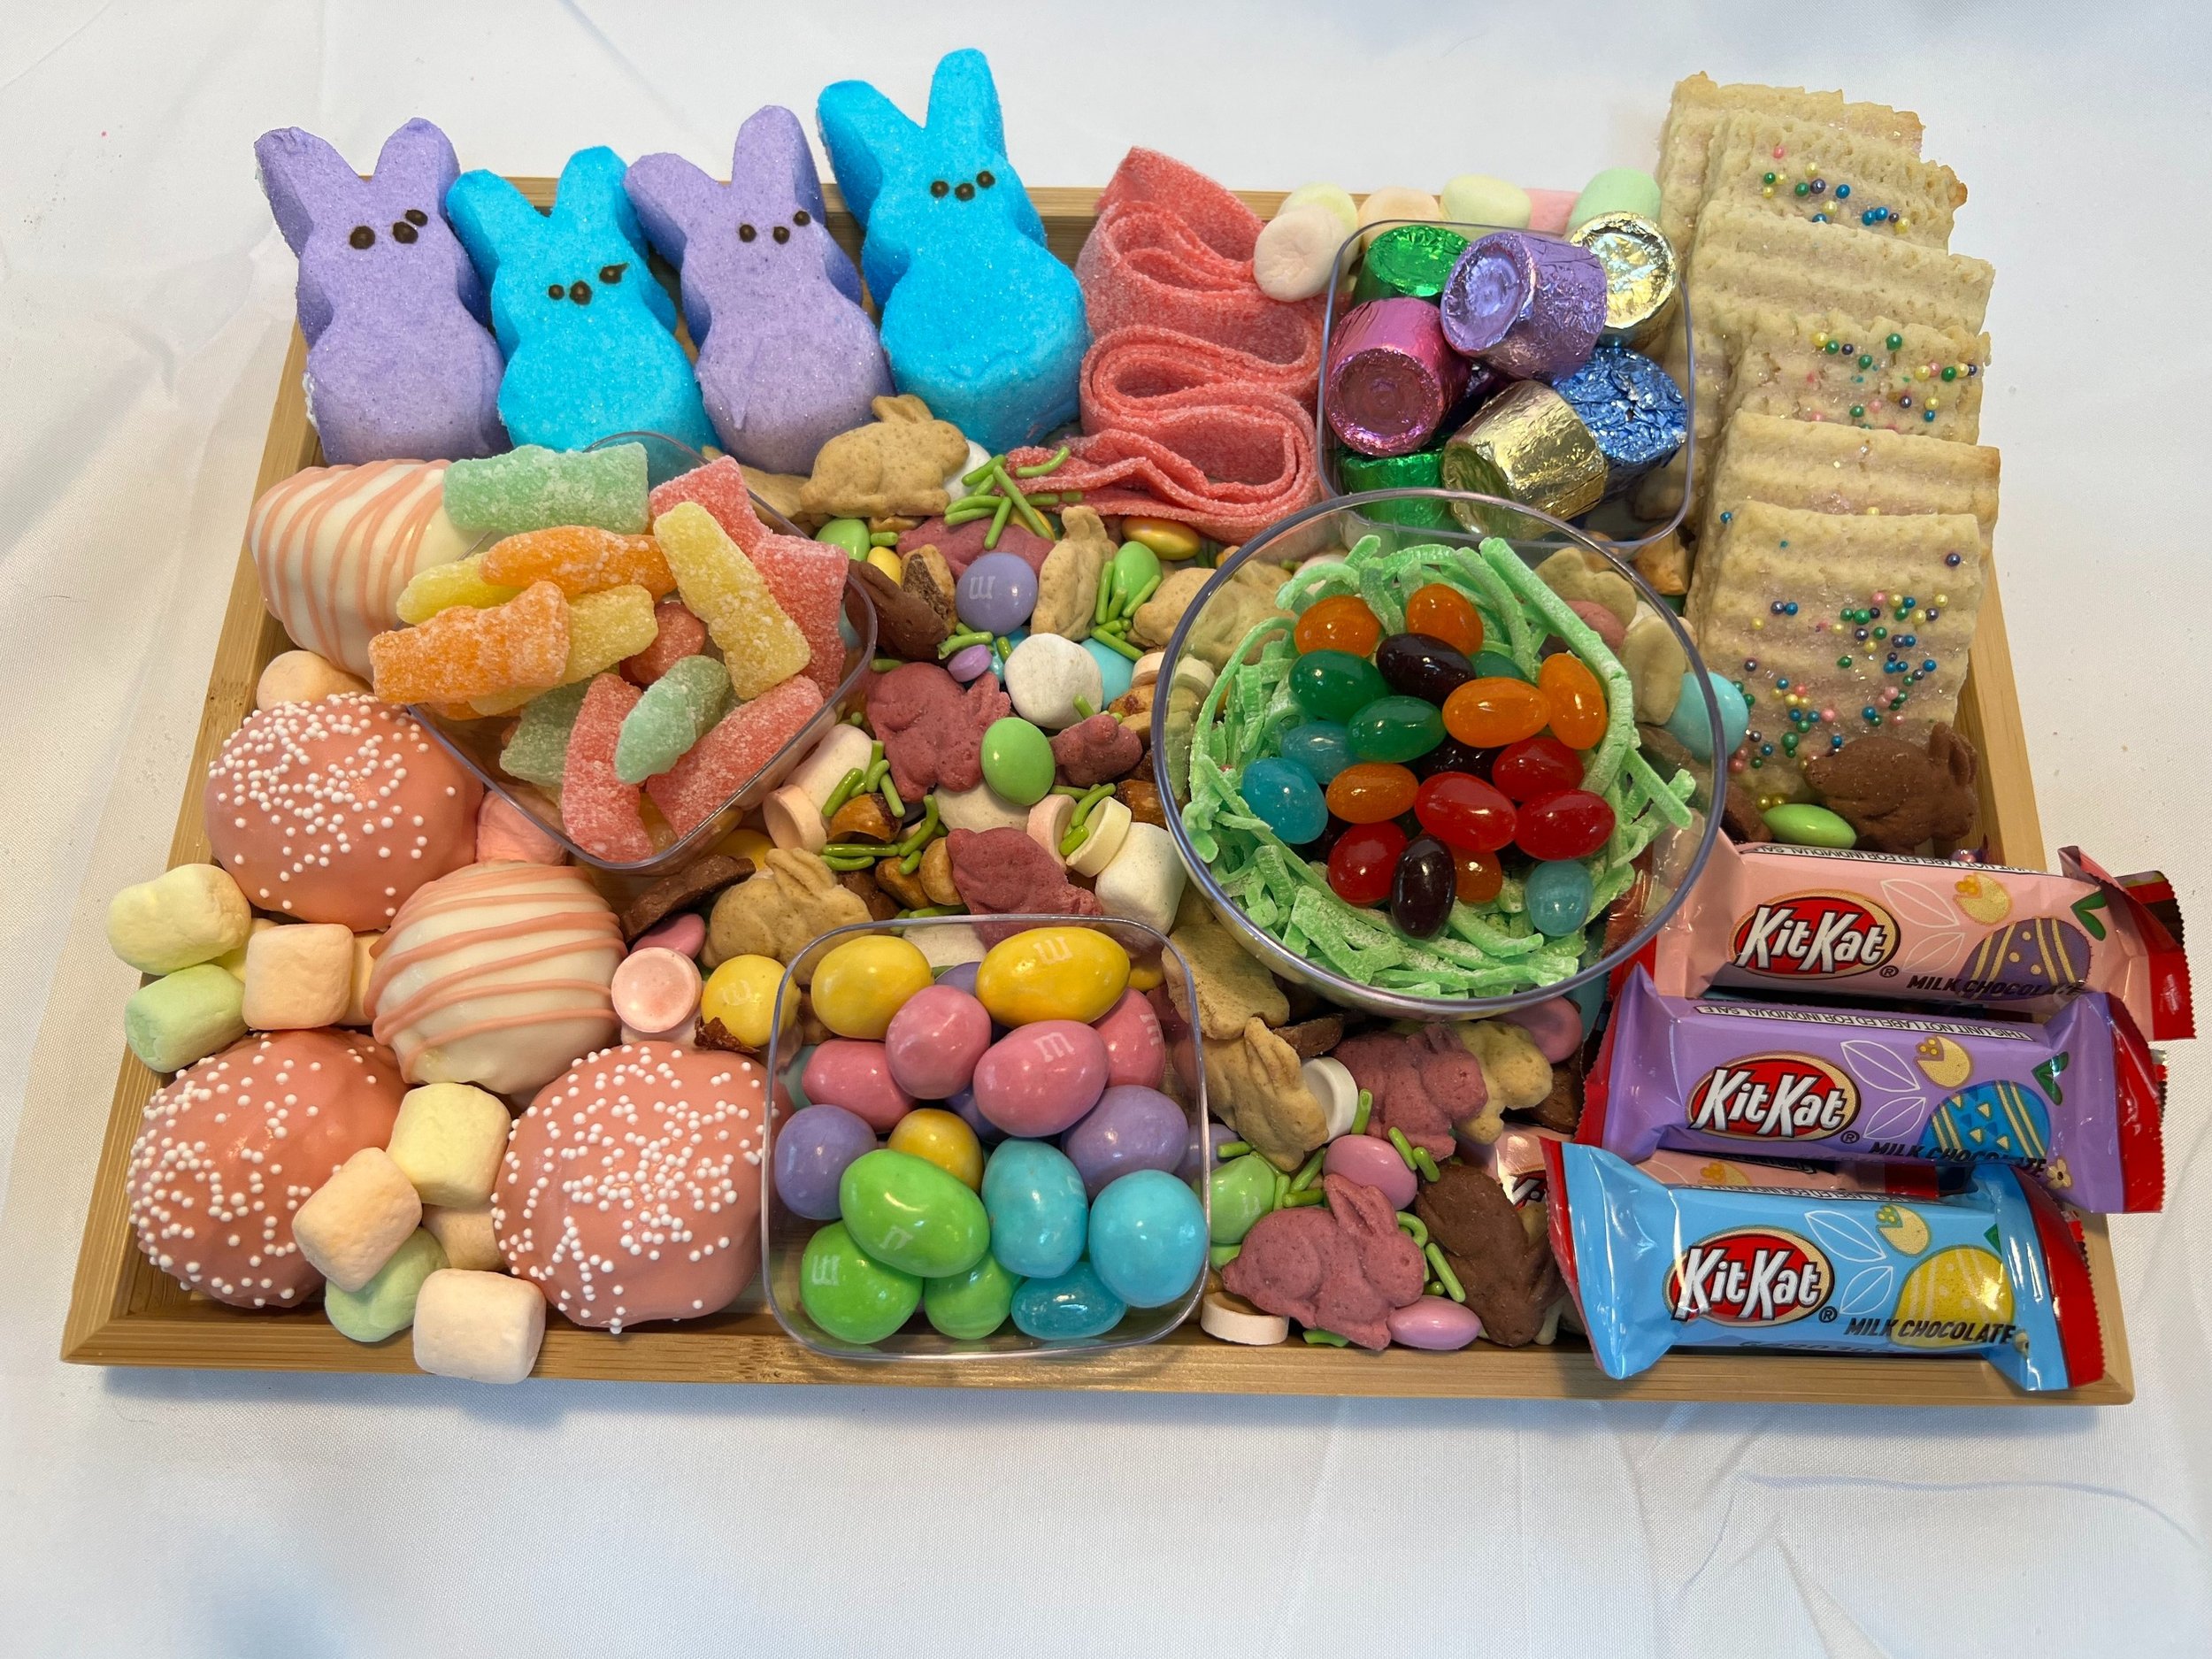
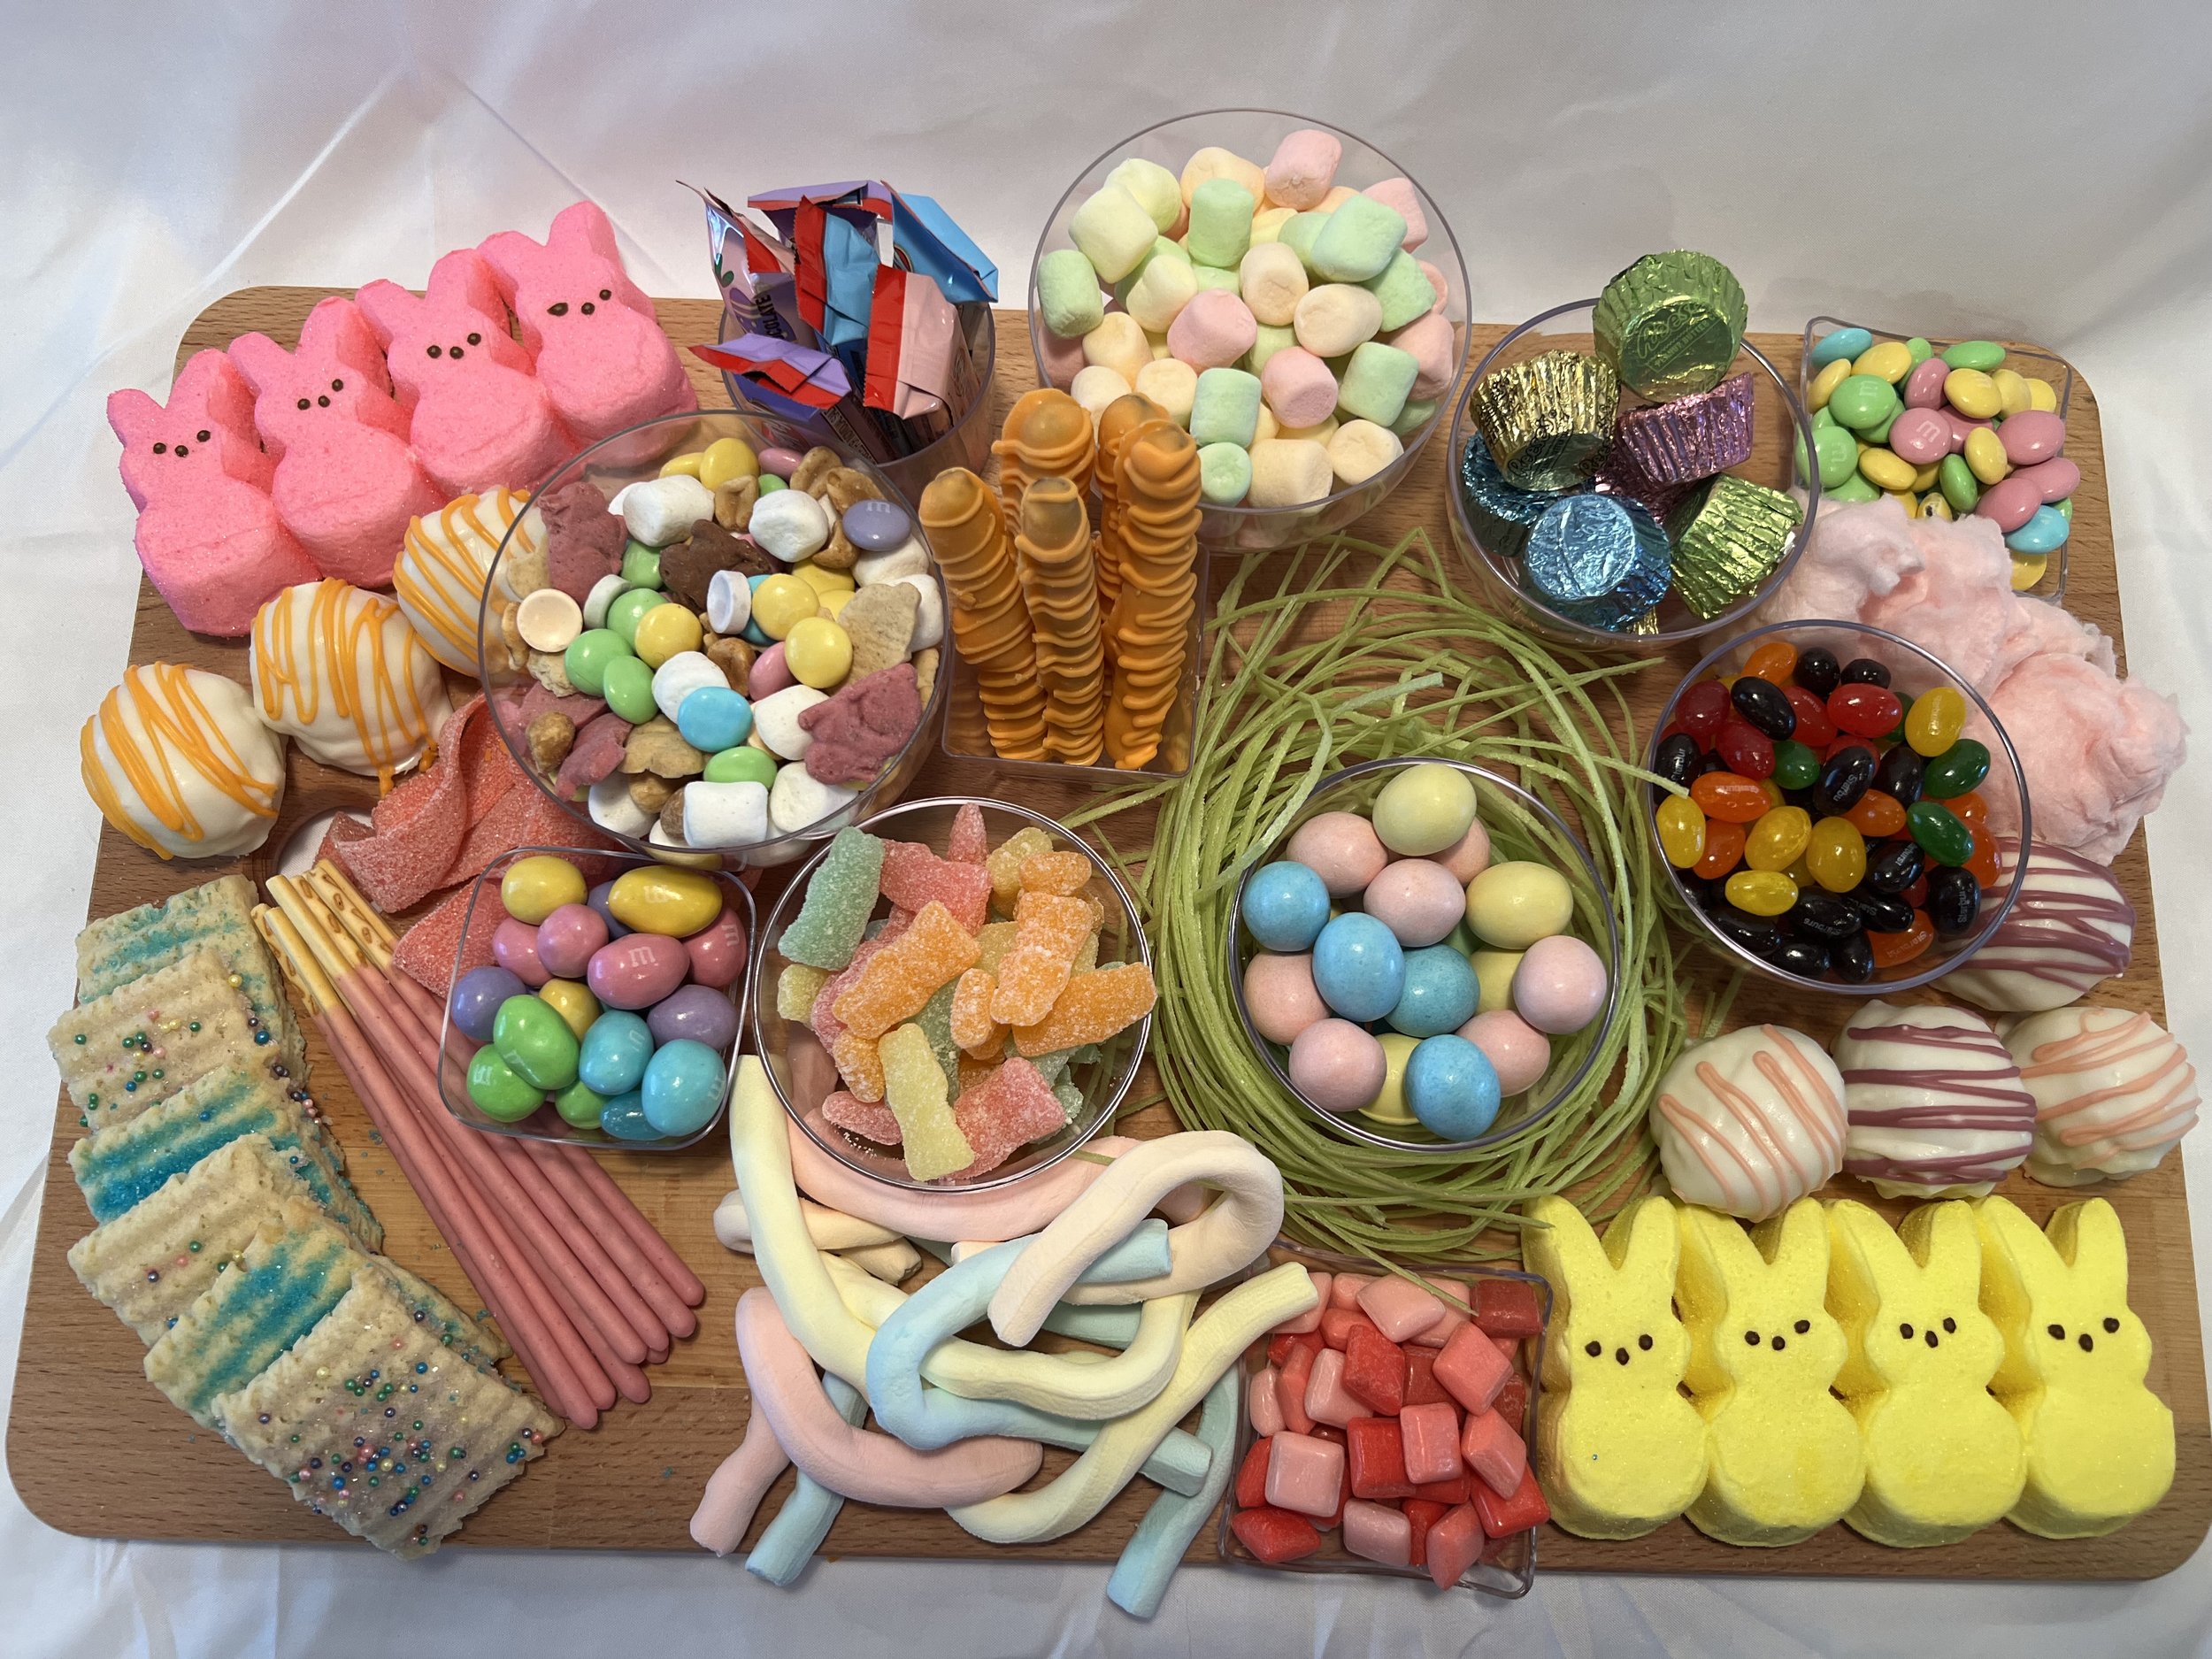
CANDY: Candy boards are great for making ahead of time. You can choose different kinds of candy that are all the same color, theme color the candies (red and green for Christmas or red, white and blue candies for American theme, etc.) You can add interest to a candy board by putting each type of candy in a small bowl on the board or by even just adding a couple of bowls to a board.
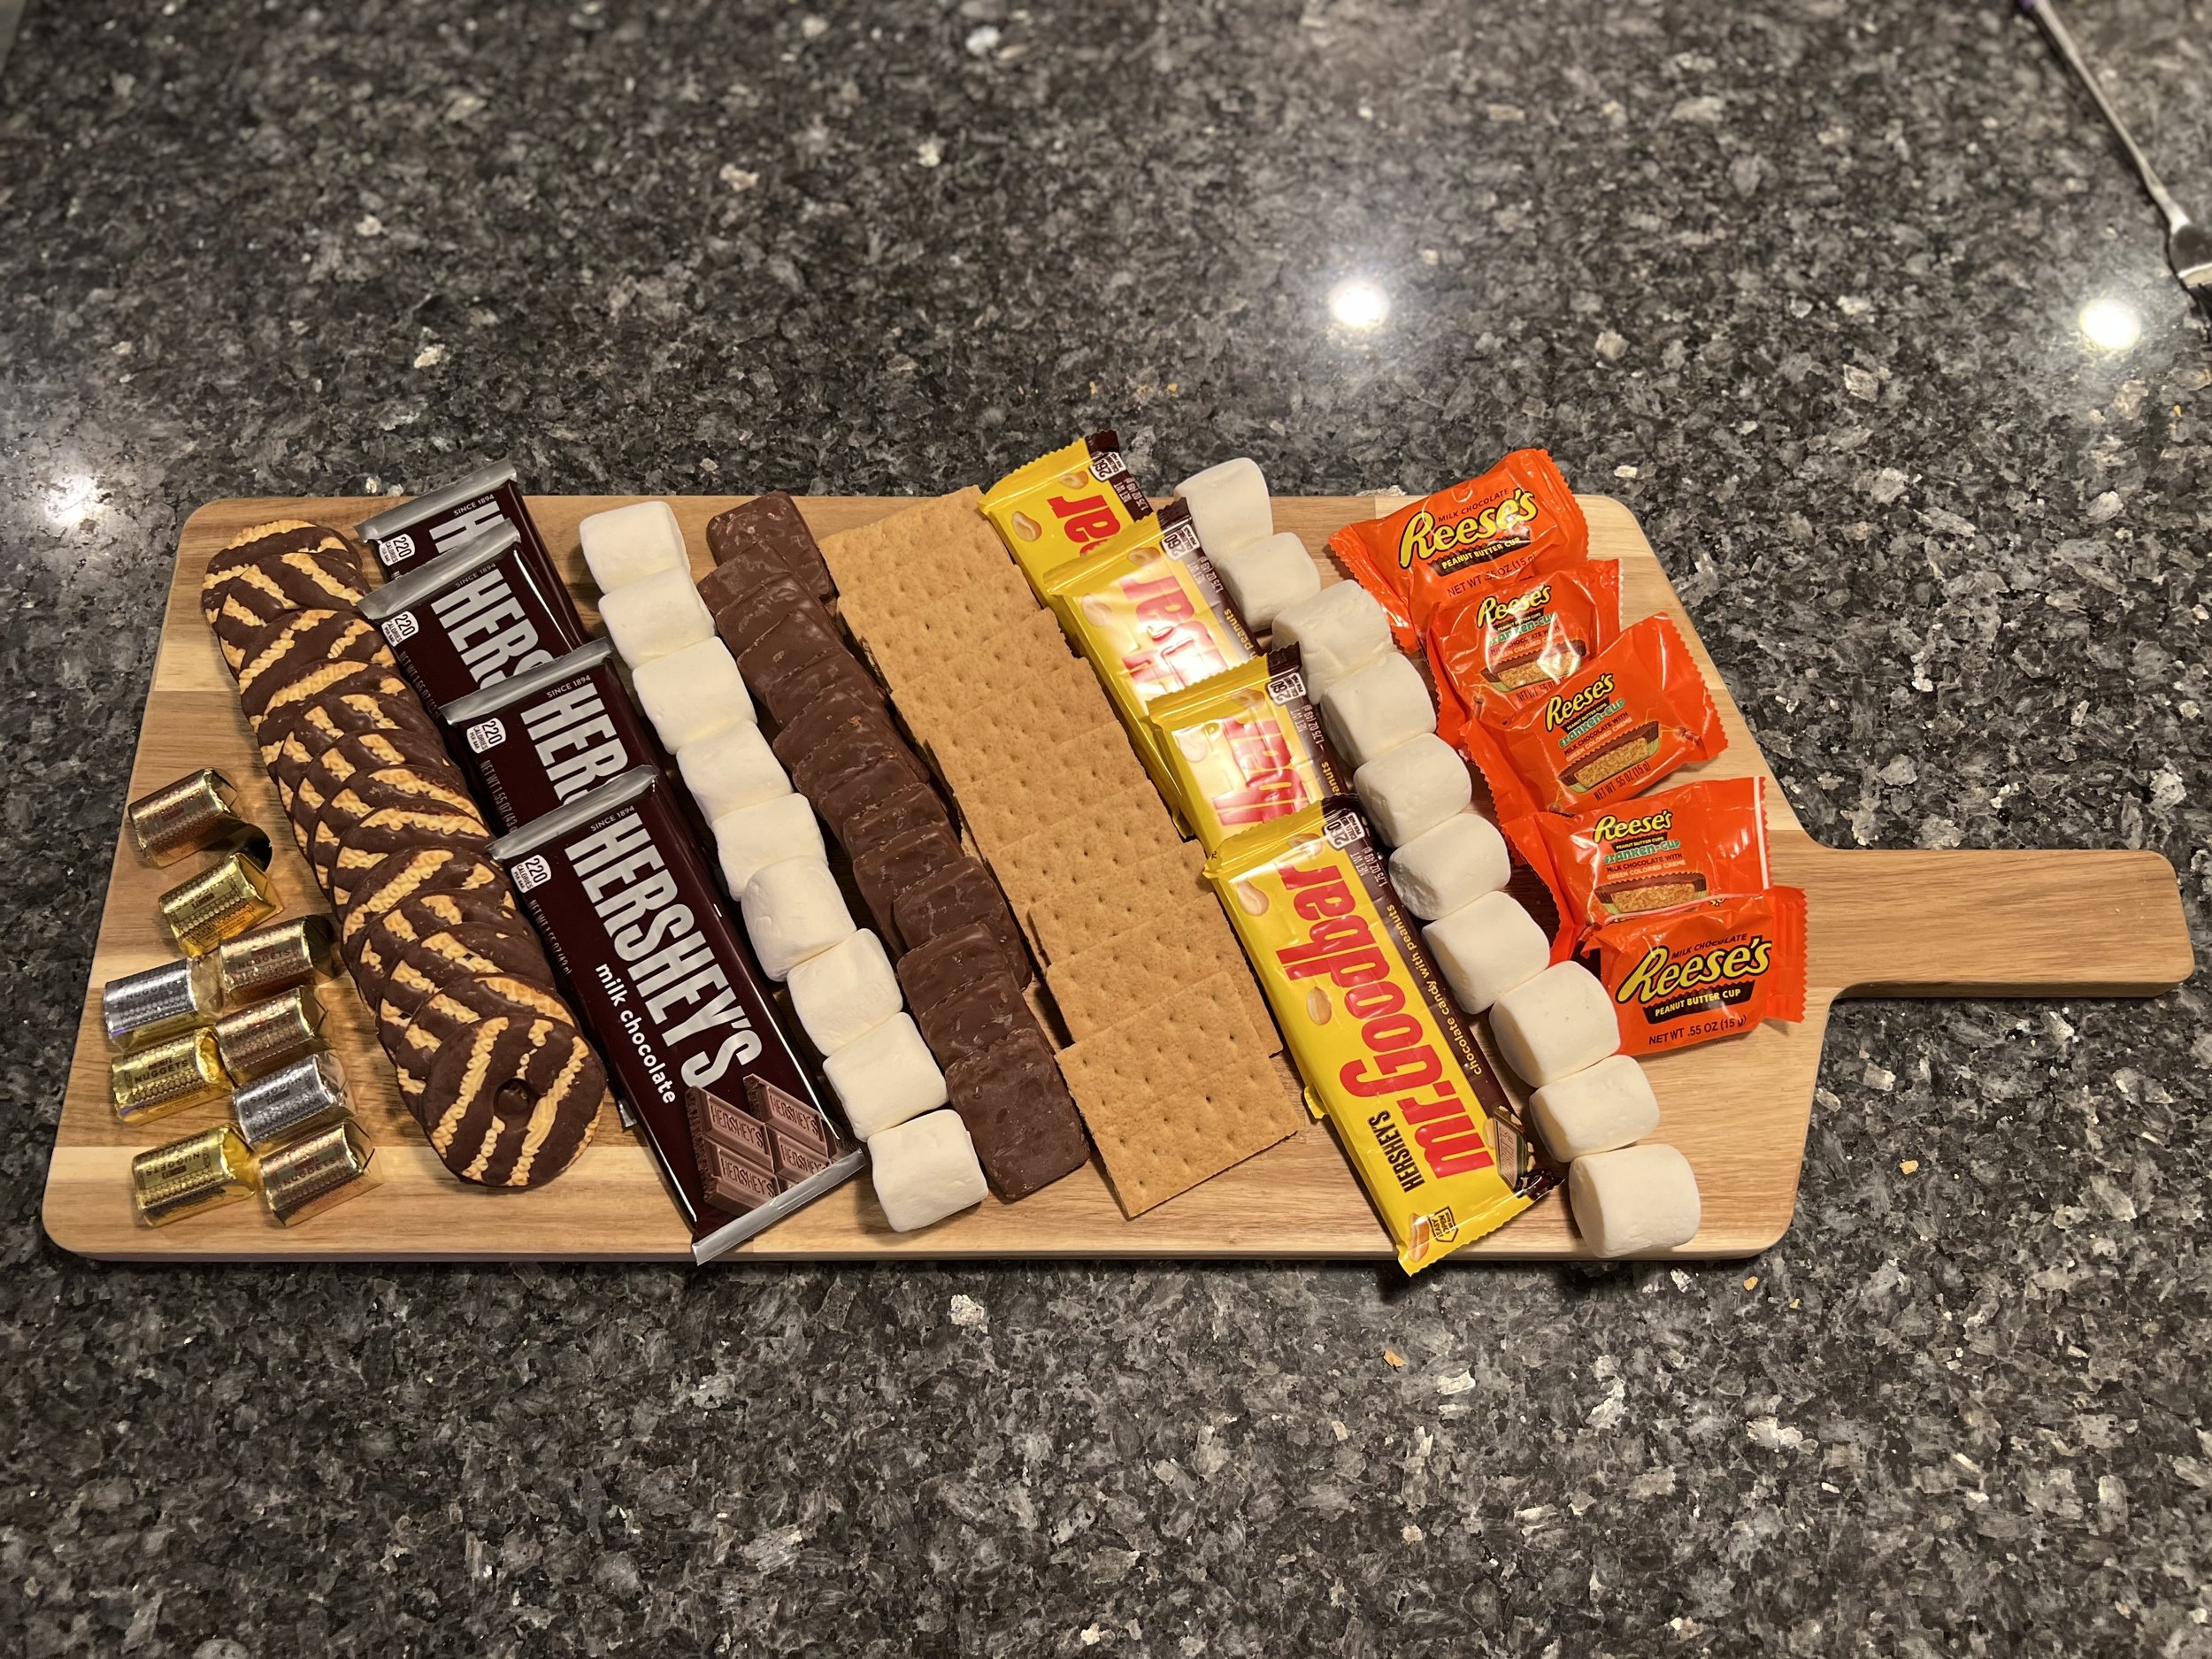
OTHER ITEMS: Depending on the type of board you want to make, you can always mix things up and have some candy, pretzels (even chocolate covered pretzels), graham crackers, cookies, bite-size powdered or chocolate docunts, brownies, rice krispie treats, Poki sticks, cake balls, shaped marshmallows, etc.. There seriously are NO rules!
BOARDS: Charcuterie boards (typically wooden cutting boards) seem to be everywhere now. Think about where you will be storing the board when not in use. Yes those really large boards are beautiful, but where will you keep it? Also, the larger it is the more food supplies you’ll need to fill it up - so think about overall cost.
STYROFOAM CONE: The upright Christmas tree above is simply made by taking a styrofoam cone and covering it in plastic wrap. Then take the food items you want on the tree and putting a toothpick through them and then randomly place them on the tree. The meats are just folded twice with a toothpick through them. Now of course you can go crazy and make a pattern on the tree, but I chose to just make it random. Why induce a headache?
OTHER ACCESSORIES: Don’t be afraid to add a little “extra” creativity to your charcuterie board by putting in “props” such as the skeleton hand I have reaching for the cluster of grapes.
Whatever you do, just have fun. It doesn’t have to be perfect to be WONDERFUL! Remember, you don’t have to stress to impress!
Thanks for reading this blog about holiday charcuteries, comment below if you made this and let me know how it went! Follow @mamapinspired on Instagram, take a photo, tag and hashtag it with @mamapinspired.
Stay connected and follow me for more recipes on Facebook, Pinterest, and Instagram for all of my latest recipes!
Explore More Recipes


This tortellini soup recipe has sweet Italian sausage, cheese tortellini, and leafy green spinach in a rich tomato broth. This is definitely not your ordinary, everyday tomato soup! This is a true crowd pleaser!